Category

Organizing Paper Files

Sorting Paper Clutter With The F.A.S.T. System

By Blog, Expert Articles, Organizing Paper Files No Comments

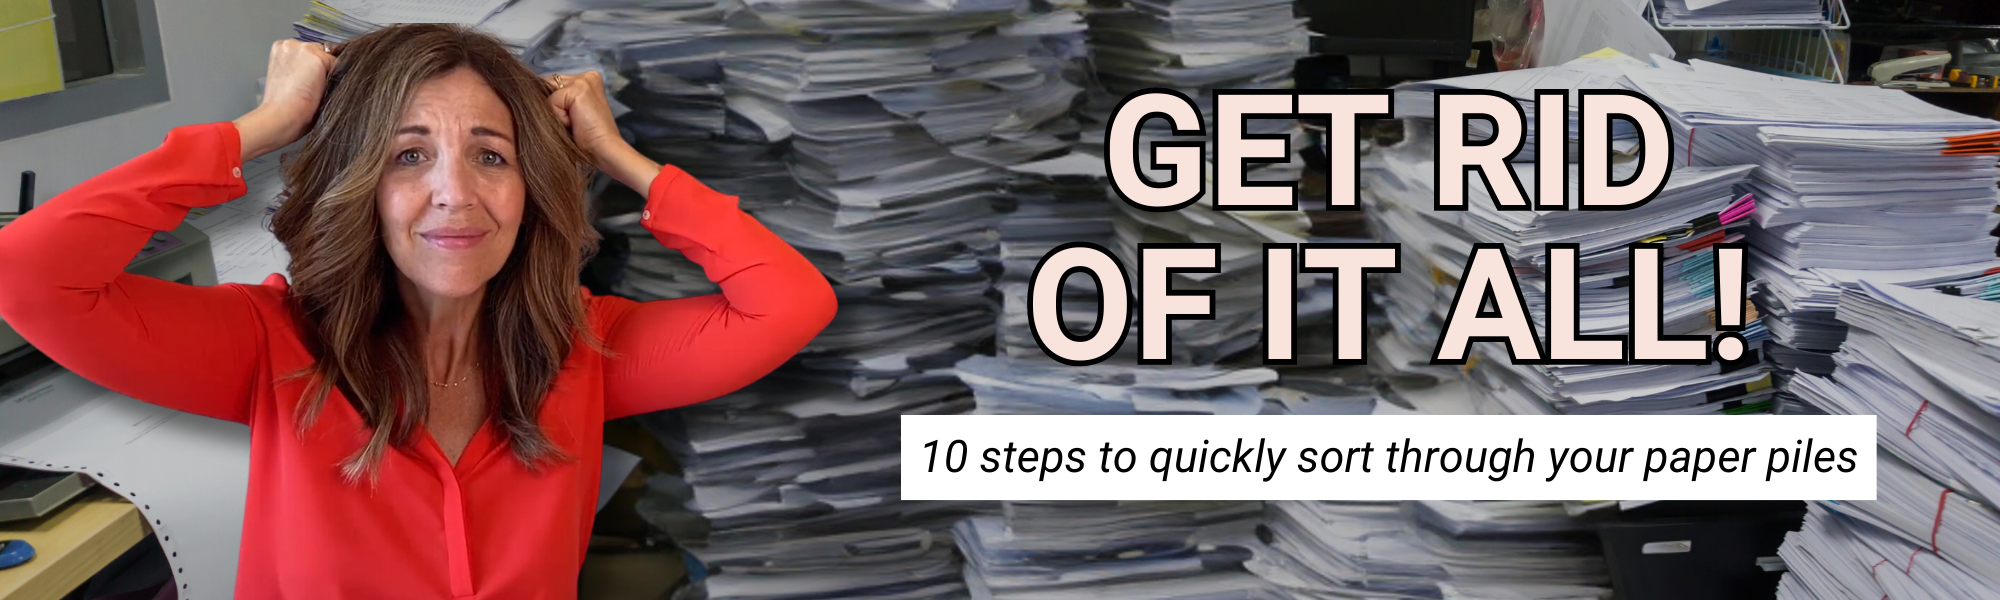
It’s easy to get through sorting paper clutter with the F.A.S.T. system!


I’m so excited to unveil this tried-and-true strategy that I’ve perfected over the past two decades. This approach has helped 1000’s of my clients navigate through years of paperwork.


From collections of the tiniest scraps to entire storage rooms filled with archive boxes, I’ve seen it all! I’m here to guide you through the steps of this simple and effective method for conquering your paper clutter.


As someone who has dedicated years to organizing and streamlining paper systems, I’ve developed a handful of techniques that allow you to swiftly sort without feeling overwhelmed. The goal is to make paper organization a manageable – and even enjoyable! – process 🙂


Did you know that people spend a significant amount of time each day searching for information amidst clutter? Imagine what it would be like to reclaim that time… maybe it’s an hour a day, which builds up to five whole hours a week. What would you do with all that extra time? You could finally be able to redirect it toward activities you truly enjoy but never have time to do or a side hustle you’ve been trying to get off the ground for years!


So let’s dive right into my top 10 strategies for decluttering your spaces and taming those unruly paper piles.


✨ FREE DOWNLOAD ✨

Brain Dump Exercise

Release your mind clutter today!

Download Now →


Sorting Paper Clutter With The F.A.S.T. System


  1. Start with the Visible Piles First

When tackling paper chaos, begin with what’s right in front of you. It’s tempting to dive into hidden storage spaces that we know are the fullest. But visible clutter is actually the perfect place to start as it will help our minds feel the best throughout the rest.


Whether it’s your kitchen counter, home office desk, or any other surface, designate one spot as your starting point (to make this even more efficient, gather all the scattered piles into one location, like a laundry basket). This strategy is about seeing quick and immediate progress. As you clear the visible piles, you’ll start to feel motivated by the transformation of the newly cleared surfaces! Starting with this visible clutter sets a positive tone for the rest of the process, and you can visually enjoy all your hard work along the way. Let those shoulders drop and release.


  1. Gather Your Supplies


Before you dive into the actual sorting process, ensure you have the right supplies at hand. Grab a few boxes, baskets, or bins – even a shoebox will do. You’ll also need post-it notes and a pen. Label each box: “File,” “Action,” “Shred,” “Recycling,” and “Other Room.” Setting up your sorting station streamlines the process and helps you make quick decisions about each piece of paper. This is because you’ll already have a place to categorize them for the next step.


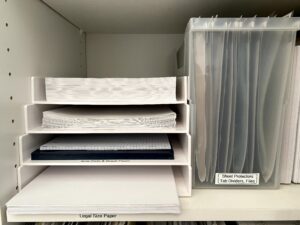
Photo @traceyaytonphotography
Styling @la_concepts

  1. Implement the F.A.S.T. Method


Here’s where the magic happens🪄


F.A.S.T. stands for “File,” “Act,” “Schedule,” and “Toss.” So as you are sifting through your paper piles, apply this acronym to each piece. Does the paper require filing away for future reference? Is there an immediate action to take? Should it be scheduled into your calendar for a specific date? Or is it something to get rid of through recycling or shredding? The F.A.S.T. system cuts through the drawn-out decision-making process, making sorting much more efficient. Simply File, Act, Schedule, or Toss – repeat this mantra as you go through your papers, and watch your piles disappear.


  1. Pick Out The Bulk


To make the most significant difference in your paper piles, focus on thicker items first. Gather all magazines, binders, file folders, and bulky documents. By addressing these items early on, you’ll see a noticeable difference in the physical volume of your stacks. This visual progress serves as a great motivator to keep you going!


  1. Create Your “Action File System”

Designate a space for your “Action File System.” This will be the area for papers that require action but not immediately. Whether it’s a bulletin board or an in-tray, this simple system keeps your pending tasks front and center. Nearby, keep a stack of post-it notes and a pen handy. Each paper should have its next steps outlined clearly on a post-it note or written directly on the paper itself. These clear action steps ensure you don’t miss important tasks, won’t forget what you had to do with something, and help you to stay organized.


  1. Designate a Command Center


Establish a command center for new incoming papers. This central location (which could be a section of your kitchen counter, entryway table, or shelf) is where you’ll manage all the paper that enters your home. When deciding where this will be, think about where your most common “drop zones” are. Keeping an “in-tray” or basket here for mail makes it easy to sort as soon as it arrives, plus you’re already autonomously dropping papers there anyway. Easy habit change! By handling incoming paper at your command center often, you prevent clutter from spreading throughout your home and can streamline the sorting process.


  1. Going Paperless


Where possible, transition to a paperless system. Opt for digital statements, bills, and receipts when you can. Utilize your phone or a scanning device to digitize existing paper documents. While going fully paperless takes time, the long-term benefits in terms of reduced clutter are undeniable! If you’re a business owner like me, going paperless can even allow you to work remotely. Since I’ve been committed to going as paperless as possible, I’ve done about 80% of my business just through my smartphone.

  1. Stick to a Consistent Routine


To maintain an organized paper system, establish a regular routine to keep up with it. Designate a specific time each week to process your paper. Whether it’s Sunday evening or a half hour after work each day, setting aside time for paper management will ensure tasks don’t pile up and become overwhelming again.


  1. Schedule Time to Tackle Backlog


If you’re dealing with a backlog of papers, take a methodical approach. Set aside some time in your schedule to address this backlog whenever possible. Aim for an hour each week, then increase it to a few hours a week, or as much time as you’d like to dedicate to the paper project. Remember, this is an ongoing process, so be patient with yourself and your progress. as you work on solidifying these habits. It may take a while to reach your goals, but each day you make progress is another day closer!


  1. Involve Family Members


Share your paper management system with your family members. Ensure they understand how the system works and encourage their participation! Organization is a great thing to bond each member of a household and keep everyone on the same page. Plus it is a great skill to teach little ones!

Conquering paper clutter is 100% an achievable goal, and implementing these strategies will set you on the quickest path to success!


The key is consistency and customization. Tailoring your approach to fit your preferences and lifestyle will help you incorporate these new habits without a rough adjustment period. As you clear the paper piles and establish efficient systems in your home and office, you’ll be sure to enjoy more organized and stress-free living and working spaces!


Which strategy will you be implementing today? Comment below!


Like this article?

You’ll love this one👇🏼

How to Organize a Year of Kids’ School Papers

Don’t know where to start decluttering?


Sign up for my free newsletter so I can send you the best organizing tips and strategies each week.

(and some freebies, too!)

Sign up here →

How to Organize a Year of Kids’ School Papers

By Blog, Home Organizing, Organizing Paper Files No Comments

Stuck trying to figure out how to organize a year of school papers?


You’re in the right place! By implementing these simple steps you will be able to avoid overwhelming paper chaos. Ensuring that only their most important memories are saved.


In this blog post, we’ll explore practical tips for organizing schoolwork after the year has ended.


When is the Best Time to Organize?


There isn’t a more exciting time of year than when the kids finish school for the summer. At least for them! But somehow, it’s the parents that get stuck with their mountain of schoolwork to sort through.


To help lessen the amount of work come summer, a good idea is to practice recycling unnecessary papers throughout the school year. If you can keep this up consistently you’ll have a lot less work at the end of the year!


That’s a tip for next year though, as we have a mountain of paperwork to deal with today.


Let’s take a look at how you can organize a year of school papers effectively.


Don’t know where to start decluttering?


Sign up for my free newsletter so I can send you my best organizing tips and strategies each week.

(and some freebies, too!)

Sign up here →


How to Organize a Year of Kids’ School Papers


1. Establish a Plan


To prevent overwhelm by paper clutter, the most important step is to have a clear plan of action before you begin. Decide where and how you will organize your child’s school papers. This might be your dining room table or comfortably on your couch and coffee table. Then, dedicate a space to store these papers from the year. I recommend using a file folder for each school year and keeping them all together in an archive box, one for each kid.


2. Lay it All Out


You can now start getting your hands dirty by dumping out the contents of your child’s backpack. Gather all the papers into a single pile and put anything else off to the side so you can focus on this task first. Sorting through a large group is much more efficient than trying to pick through each thing from the backpack individually. From here you can create smaller piles for different categories like trash, keep, and recycle.


*Remember to remove the staples from the papers before recycling them!


✨ FREE DOWNLOAD ✨

Summer First Aid Kit Checklist

Be confident in any home emergency!
Download Now →

3. Reuse Papers for Summer Work


To keep your kids engaged in learning throughout the summer, consider reusing their unfinished workbooks, sheets, and lessons. For workbooks that are only partially completed, remove the finished pages to recycle and save the rest for “summer work.” This way, your children can continue learning during the break without you having to purchase additional worksheets. Having grade-appropriate lessons ready makes it even more relevant!


4. Clean out Backpacks (and Lunch boxes!)


After you organize a year of school papers, don’t forget to give those backpacks and lunchboxes a thorough clean! Empty out the whole thing, dispose of leftover food, and wipe down the interiors. Most backpacks can be run through a washing machine, but double-check the tag for washing instructions. A fresh start for the upcoming school year begins with a clean slate – emphasis on clean!


5. Want to Go Paperless?


Preserving memories digitally can save you tons of space and reduce household clutter. Check out my favourite apps for achieving this:

Artkive

The #1 solution for preserving and celebrating kids’ art!

Google Photoscan

Create enhanced digital scans, with automatic edge detection, perspective correction, and smart rotation.

You can use them to take photos of your child’s most memorable artwork and schoolwork. I love using these with my clients as they’re also great for taking photos of 3D artwork. If you don’t have the space to display a clay sculpture, simply snap a photo and look fondly at it anytime you wish! Create a digital album where you can store these cherished memories and even share them for extended family to view. Digital storage also ensures that these precious pieces are protected from physical wear and tear, or accidental breakage.


6. Maintain Throughout the Year


To simplify the end-of-year organization process, make it a habit to maintain your system throughout the school year. Encourage your kids to bring home papers they may no longer need. Regularly sort and pare down these papers to keep only the most special pieces. By adopting this practice, you’ll find that organizing school papers becomes a breeze at the end of each academic year!


Where to Store Kids’ School Papers

Organizing school papers after the year ends can be a daunting task that requires some planning and a methodical approach.


But by implementing the tips mentioned above, you can avoid the stress and clutter that often comes with organizing a year of school papers!


Remember to establish your plan, sort through the papers quickly, embrace digital storage, and maintain your system throughout the year.


By practicing these strategies consistently, you can say goodbye to paper chaos and give a big welcome to a clutter-free end of the year!


How do you store your kids’ school papers? Comment below!


Like this article?

You’ll love this one👇🏼

75 Creative Ways to Use A Label Maker

Going Paperless is a Process: How to Eliminate Office Clutter

By Blog, Business Organizing, Home Office Organization, Organizing Paper Files No Comments

Is going paperless a realistic goal for you? What’s the reason you want to go paperless?

Is it to be more mobile, work from anywhere, get rid of the stacks of papers, or have information on demand from your computer?

Whatever it is, take a few minutes to decide what going paperless will look like for you. Paper organization is a process; getting clear on your vision from the start will save you a lot of time!

Making the decision to go paperless is a great step in the right direction. But it isn’t a single step… going paperless is a process.

Even after I thought I had cleared everything, I still find it is important to keep going back in and clearing more out! Staying organized is about staying on top of your systems.

What’s Your Goal for Going Paperless?

Initially, my goal in going paperless was to be completely mobile. To be able to do business and work from anywhere in the world.  My goal expanded to giving team access to documents, videos, and photos.

In this transition I had to learn new technology, set up new systems, and schedule time in my calendar for this goal. I also had to be ruthless with myself on what books, papers, magazines, articles, office supplies, and binders I really needed to keep in my office.

At the end of the day I would ask myself, what do I really need to have on hand and just a moment away? Can I access my information online or on my computer quickly? What needs to stay in paper format?

These are questions you must ask yourself, too.

Why Keep Paper in a Digital World?

This is a question that everyone is going to have a different answer for.

How comfortable are you with learning and using technology?

Some prefer the touch and feel of paper and others just want it completely out of their life so they don’t have to manage it at all. In all my years of organizing offices, homes, and small businesses, I have yet to see a completely paperless office. So get clear on what “paperless” means to you.

Where Do I Put Papers I Keep?

Depending on how much paper you have left after deciding what stays and goes, you may want to use binders kept on a shelf or in a smaller filing cabinet.

Create a space for your “Project Files” and your “Reference Files.”

Project files are active and need to be close at hand. Reference files contain information that you may need to refer to from time-to-time. You can keep those in a filing cabinet, binders, or your office.

I went from four lateral filing drawers down to two small file drawers – and it feels great! In those two filing drawers are only what I need in paper format for a few current projects, a few business reference files, and personal documents. Whenever I can, I purge a file or eliminate a project folder.

The paper files in my cabinet are not papers that I want to scan, but those that I want to have in their original formats. I may change my mind one-day, but for now I’m happy with this.

Project management apps to help you go paperless with all the projects you’re working on are:

  • Asana
  • Trello
  • ClickUp
  • OneNote
  • Evernote
  • Monday

My personal favorite is Asana and it has given me the freedom to share projects with my team which gives me peace of mind that tasks aren’t slipping through the cracks.

For simple to lists, planning a celebration, and errands, my personal preference is GoogleKeep.

Get Clear On Your Vision for Paperless

Going paperless is a process and it doesn’t happen overnight. Just like building a home!

You first have a vision and draw up a plan, then hire a contractor to build your home. After many, many months of making a lot of decisions and following through on completing task after task, you finally have reached your move-in day. And you get to walk through your front door into your new dream home!

So, what is your vision for going paperless?

Paint that picture in your mind, write out your desired outcome, and schedule time to follow through with it. Then complete all the tasks it will to take in organizing your space so you have less paper!


If you want to take it a step further or need some more guidance, my Organize Your Household Papers will give you a jump start on organizing your paper in your office, home, and life! You’ll get all of my trade secrets and the steps to set up your organizing systems. Really everything you’d need to be organized and manage the paper files taking up too much space in your life!


Like this article?

You’ll love this one👉

Why We Prefer New Year’s Planning in September