Tag

home office organization

How to Use the Snipping Tool for Windows Desktop

By Blog, Digital Organizing, Quick Organizing Tips No Comments

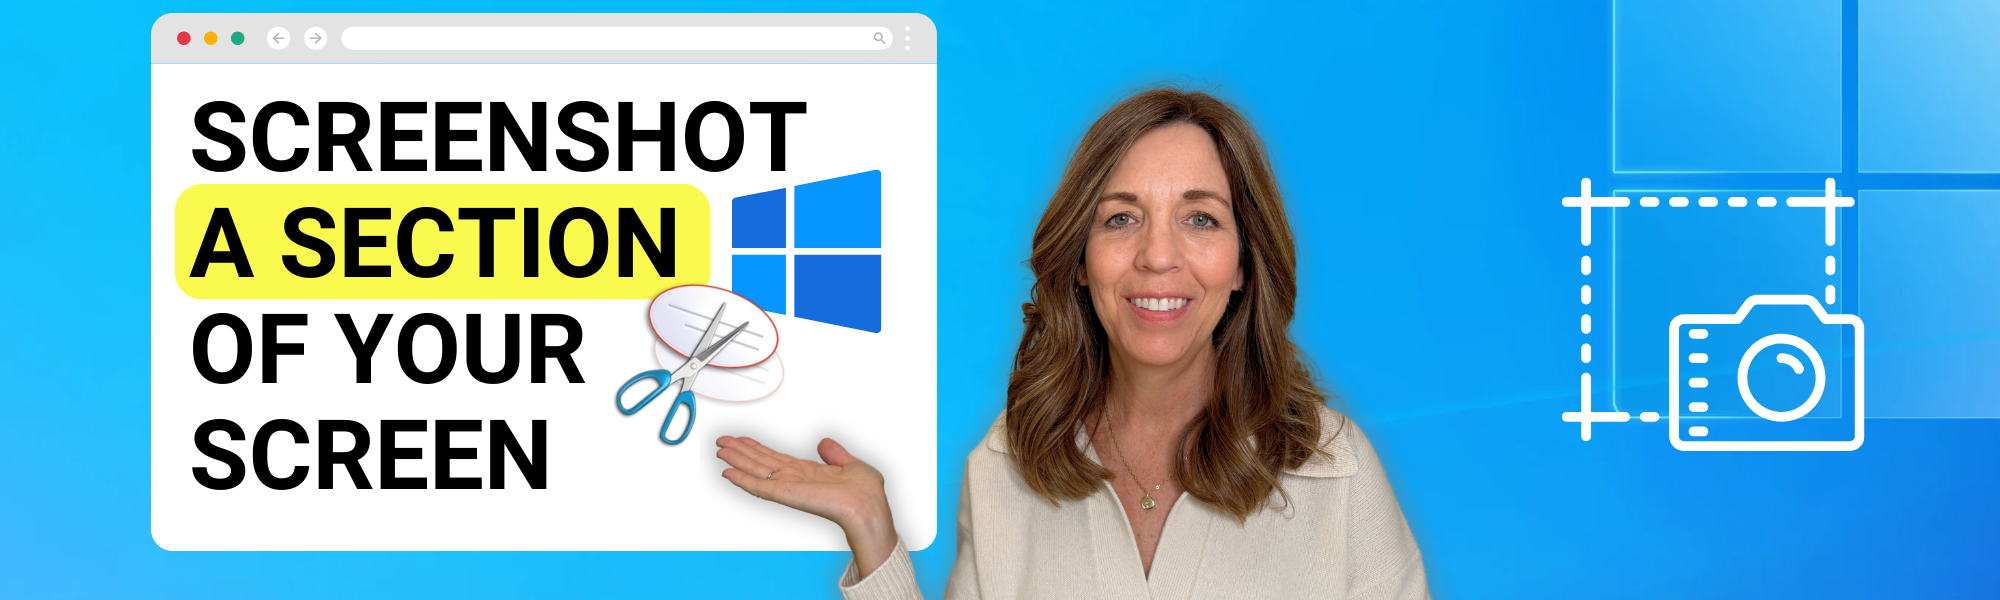
You’re in the right place to learn how to use the snipping tool for Windows desktop!


Have you ever found yourself wanting to capture just a portion of your desktop screen? Perhaps you want to highlight a specific section of a document, webpage, or image to share with someone or for future reference.


Enter the snipping tool – a handy feature built right into your desktop to make this task a breeze!


In this blog post, we’re looking at how you can harness the power of the snipping tool on a Windows desktop.Keep reading to learn how to use the snipping tool for Windows desktop!


How to Use the Snipping Tool for Windows Desktop


Before we dive into the exact how-to’s of using the snipping tool, let’s debunk a common misconception…


The Print Screen shortcut captures the entire screen. The snipping tool allows you to select only the portion of the screen you want to save. Which saves you from the hassle of a second step of cropping!


Finding the Snipping Tool

Locating the snipping tool is the first step. Simply type “Snipping Tool” in the search bar at the bottom of your computer’s screen, and if it’s available on your system, it will appear. To ensure easy access in the future, pin the Snipping Tool to your taskbar. If it didn’t come up for you, you can download it here.


The shortcut keys to pull it up instantly are Windows Key + Shift + S


Capturing Screenshots

Once you’ve launched the snipping tool, click on “New” to initiate a new snip. Here you have the flexibility to drag and choose the area of the screen you want to capture. This could be a section of a webpage, a photo, or anything else. The snipping tool also offers basic editing options like highlighting and annotating to further enhance your screenshots.


Saving and Sharing Snippets

After capturing the desired portion of your screen, it’s time to save or share your snippet. In the next step of how to use the snipping tool for Windows desktop, you have a few options. You can save it to your local drive for future reference or attach it directly to emails or tasks in project management tools like Asana, Monday, or Notion. The snipped screenshot is also now on your clipboard, so you can paste it somewhere as well. The versatility of the snipping tool allows you to seamlessly integrate it into your workflow, regardless of the application you’re using!


Screenshots made with the Snipping Tool will also auto-save to your “Screenshots” folder. Avoid digital clutter by clearing it out regularly


Learning how to use the snipping tool for Windows desktop and adding it to your daily routine will significantly streamline your workflow!


The Snipping Tool allows you to take precise screen snippets effortlessly. This is highly useful when you’re collaborating with colleagues, documenting tasks, or simply archiving important information.


Now you’ve mastered the art of how to use the snipping tool for Windows desktop. Stay tuned for our upcoming lesson on how to seamlessly save and utilize these snippets in a note reminder system!


With the right tools in your hands, you’ll be able to declutter your mind and enhance your productivity like never before.


Comment below your favourite ways to use the Snipping Tool, and happy snipping!


Like this article?

You’ll love this one👇🏻
Google Keep: Learn the Basics + Use Key Features


Not sure where to start with business organization?


Sign up for my free newsletter so I can send you the best organizing tips and strategies each week.

(and some freebies, too!)

Sign up here →

How to Get Your Small Business Ready for Tax Season

By Blog, Business Organizing, Checklists No Comments

As a business owner, you may experience mixed feelings when it comes time to get your small business ready for tax season.


Tax season is a stressful time for many of us personally, but add business to the mix? It’s a whole other world!


With receipts scattered, documents misplaced, and procrastination looming, it’s no wonder we avoid all tax-related tasks until the last minute.


In this blog post, I’m sharing my simple organizing strategies honed over two decades. With these systems in place, you can keep your taxes organized for both personal and business use year after year.


Let’s dive into the five best tips to kickstart a stress-free tax season!


How to Get Your Small Business Ready for Tax Season


Centralized System for Receipts:


Organizing receipts is crucial for a smooth tax filing process. Designate a specific spot in your wallet, desk, or car for collecting receipts. Use durable zipper pouches labeled with categories like “Business Expenses” or “Medical Receipts” for easy sorting and retrieval. Regularly empty these pouches into your central tax folder to keep everything tidy and in one accessible place come tax season.


Digital Tax Folder:

Since we’re living in the digital age, it’s beneficial for you to digitize as many documents as you can to get your small business ready for tax season. Start by creating dedicated tax folders on your computer for both personal and business taxes. As you receive documents, scan or photograph them and file them directly into their respective folders. This ensures a well-organized digital archive for easy reference whenever you need something!

Personalized Tax Checklists:


Develop customized tax checklists for your specific needs. You can find free basic templates online to start with and just tweak them where needed. For business owners, maintain separate checklists for personal and business taxes. Customize these lists to streamline the gathering of required documents for tax season.


File Folders with Expanding Pockets:

If you haven’t already, choose a filing system that suits your needs. File folders work well for smaller amounts of documentation while folders with expanding pockets are ideal for larger volumes. To get your small business ready for tax season and beyond, prepare labels for upcoming years to save time in the future and recycle old folders as needed. This ensures a seamless transition from one tax year to the next!


Archive System:


Establish an archive system for past tax years. Keep only the current year and the two previous years in your immediate workspace for reference. Use labeled hanging files or expanding file pockets for each year to separate and store them in a designated area, such as a home office or storage space. Make sure these paper documents stay safe from damage by moisture or any other potential cause by using at least a banker’s box or even fire-proof storage.


Now you’re prepared to get your small business ready for tax season!


Implementing these organizing tips will transform your tax season experience from a last-minute scramble to a perfectly planned filing time!


From simply managing receipts to creating a digital archive, personalized checklists, and an efficient paper-to-digital filing system, you’ll be well-prepared for stress-free tax filing year after year.


Remember, the key is consistency. Find a system that works for you, customize it to your needs, and stick with it. The more you switch around your system the easier it is for pieces to fall through the cracks.


As tax season approaches, you’ll appreciate the ease and efficiency of having all your documents in order!


If you have secret tips of your own or more questions about how to get your small business ready for tax season, feel free to share them in the comments below!


Like this article?

You’ll love this one👇🏻
When to Hire a Productivity Coach or Professional Organizer


Not sure where to start with business organization?


Sign up for my free newsletter so I can send you the best organizing tips and strategies each week.

(and some freebies, too!)

Sign up here →

Streamline Your Business Productivity with Bookmarks

By Blog, Digital Minimalism, Digital Organizing No Comments

It doesn’t take much to streamline your business productivity with bookmarks in Google Chrome. After implementing these 8 simple steps, you’ll see your productivity increase TODAY!


 How many times have you had more than 25 tabs open when suddenly our computer updates and you lose everything? All the tabs, websites, and apps that you were logged into?


Maybe you have a time slot of an hour to work on a project… but you spend half of it trying to log into everything.

This is wasted time that you can prevent from happening by saving the login details and login page in a convenient location.


We’ve all been there. That’s why I’m here to share some game-changing tips to streamline your business productivity with bookmarks in Google Chrome.

I teach on this topic regularly, and it gets the MOST feedback for how much it has changed other business owners’ day-to-day operations! It is often the smallest tweaks that make the biggest difference 😊


You can also use these time-saving tips on other internet browsers like Chrome, Safari, Firefox, Microsoft Edge, or any other browser.


Prepare to revolutionize the way you organize your digital life!


Streamline Your Business Productivity with Bookmarks


I’m Sherry Borsheim and welcome to the Simply Productive Blog. This is where we guide you on simplifying and organizing your business and life. Each week we’re sharing with you the exact strategies on how to gain more free time and shed even more stress!


If you’re like me, wasting time searching for web pages or logins in Google Chrome is a major frustration. It’s so bothersome to me when I can’t find something. So much so, that I have tried many ways over 20 years to solve these roadblocks in my workdays.


That’s why I now prioritize organizing my bookmarks, considering them an essential part of my daily workflow!


Why Streamline Your Business Productivity with Bookmarks?


Bookmark organization isn’t just about today; it’s an investment that pays off in saved time tomorrow, the day after, and in the weeks and months to come.


The time you invest in learning these quick, easy tips today will become a lifesaving gift down the road.


The seemingly small act of organizing your bookmarks can be truly impactful. Especially when you consider the multitude of apps and websites you navigate daily. Let’s introduce the time freedom and peace of mind to access your files, resources, and websites swiftly!


How to Streamline Your Business Productivity with Bookmarks

Enabling the Bookmarks Bar

Let’s begin to streamline your business productivity with bookmarks starting with the basics. If you haven’t activated your bookmark bar in Google Chrome, now is the time to do so! Click on the three dots in the top-right corner, navigate to “Bookmarks and lists,” and select “Show all bookmarks.” This simple step will unveil the canvas to create your bookmark folders.


Bookmarking Sites

With your bookmark bar now visible, let’s bookmark your favorite sites. Click the star icon located on the right of the address bar while on a webpage you want to save. Name it as you prefer, and under “Folder” is where you can choose the location to save it. For now, we will save it to your Bookmarks Bar. Your first bookmark will now appear under the address bar!


Organizing Folders

To streamline your business productivity with bookmarks while keeping things tidy, let’s work on creating your folders. Right-click on the bookmark bar and select “Add Folder.” Name it according to what category of bookmarks you’ll be saving inside. This is especially useful for grouping related sites or creating workflows.

For example, you may want folders for Social Media, Digital Tools, Product Links, Courses, Finance, Shopping, etc.


Naming and Editing

Short and sweet is the key when naming bookmarks in Google Chrome. If the default name is lengthy it won’t be able to display the whole name. Conserving space on the bookmarks bar is key to getting the most out of it. Right-click on a saved bookmark and click on “Edit” to adjust it. Don’t hesitate to add emojis that will help you remember what the item is quickly for a touch of expressiveness!


Subfolders

For a deeper level of organization, you can break folders down even further by adding subfolders. Click to open one of your folders then right-click within a folder (on any item), select “Add Folder.” Again, name it as you like then drag and drop the new folder within the parent folder to rearrange the order (I recommend it at the top for easiest access!). This is how you can build your hierarchy effortlessly and fine-tune how you streamline your business productivity with bookmarks. Drag the bookmarks you’d like to keep in there to rearrange as needed.


Workflow Creation

Now we’ll be focusing on leveraging folders to create workflows. For instance, in your financial folder, you may want to organize bookmarks for tasks like monthly bills, tax-related sites, or receipts. This visual checklist ensures you won’t miss essential steps come monthly taxes and yearly tax season!


Access on All Devices

One of the perks of using the bookmark bar in Google Chrome is seamless integration with any device. Once organized, your bookmarks will magically appear when you log into your Google account on Chrome on your phone, computer, tablet, etc! This feature is a game-changer for those who frequently switch between desktop and mobile.


Keeping it Neat

Remember, any bookmark on the bar is accessible quickly only if it fits on your visual bookmarks bar. If you have more folders or bookmarks than what fits on your bookmarks bar, a double arrow will appear on the right that drops down a list of the excess. To keep your bookmarks bar neat, you should categorize every loose bookmark into a folder on your visual bookmarks bar. To maintain this, keep folder and bookmark names concise and avoid any quick saves to “Other bookmarks” or “Mobile bookmarks.”


As you now see, when you streamline your business productivity with bookmarks in Google Chrome, it’s a time-effective strategy for organizing websites and apps you frequently visit!


Whether you use a PC, Mac, or access your bookmarks on mobile devices, these tips will keep your digital tools streamlined and accessible at your fingertips.


The impact goes beyond the immediate; it’s about streamlining your digital workspace and ensuring quick access to everything you need, on-demand.


Let’s start on this journey of bookmark mastery and streamline your business productivity with bookmarks now! And don’t forget to stay tuned for more weekly tips on enhancing your business’ productivity and organization.


Like this article?

You’ll love this one👇🏻
Simplify Your Business with Effective Systems


Not sure where to start with digital organization?


Sign up for my free newsletter so I can send you the best organizing tips and strategies each week.

(and some freebies, too!)

Sign up here →