If you have a collection of reading materials you’re ready to let go of but aren’t sure of where to donate books – this one’s for you!
Every reader knows that books can change lives. Children’s books help to shape and broaden our minds and imaginations as little ones. Self-help books give us direction in confusing or difficult times. Even recipe books bring life to our kitchens when we’re experimenting with new foods!
It isn’t always easy to let go of our favourites, which is why book libraries are one of the fastest-growing types of collections! When our shelves are filled to the brims, the stacks start toppling, and our little ones let go of picture books in favour of novels, these are signs it’s time to declutter. Continue reading for our full list of where to donate books.
Decluttering books is already quite a task in itself. But once the collection has been sorted, what should you do with the to-go books? Recycling them seems like a waste when so many others can still benefit from the books, and passing them on to friends and family can only go so far (especially if you’ve got a lot to give away!).
✨ FREE DOWNLOAD ✨
Avoid 3 Common Home Organizing Mistakes
Start achieving your organizing goals faster
and see visible results that are truly motivating today!
✨ FREE DOWNLOAD ✨
Avoid 3 Common Home Organizing Mistakes
Start achieving your organizing goals faster
and see visible results that are truly motivating today!
How to Declutter Your Books
First, gather your supplies:
- Boxes from Home Depot, a local storage facility, or banker boxes from Amazon
- Packing tape
- A thick, black marker (to label boxes for where they will be donated)
- Research where to donate books (we’ve done most of the research for you here, and you can search for similar resources specific to your area)
Books are heavy, and glossy cookbooks are even heavier, so remember that you’ll still need to be able to lift the boxes of books for donation! Big Brothers does offer a pickup service, but you’ll still need to move them outside your front door. If lifting a box of books is too much for you, use sturdy reusable bags that you can lift by handles and carry to your car.
Pick one room to start in first. Use our Simply Productive Method for decluttering books – Left to Right, Top to Bottom.
Start on the top shelf from the left side and work your way to the right side of the shelf. Then continue decluttering on the shelf below. If you can’t get to the top shelf, then start with the floor and work left to right.
The goal is to make decisions on what to keep or donate, one shelf or area at a time.
Have several small boxes pre-assembled and ready to put your books for donation in. When decluttering with a client on-site, we prefer to use the small boxes or file boxes from Home Depot. Just don’t fill them to the top as they will be too heavy to lift! We only fill them three-quarters of the way for this reason.
“Now what should I do with them?”
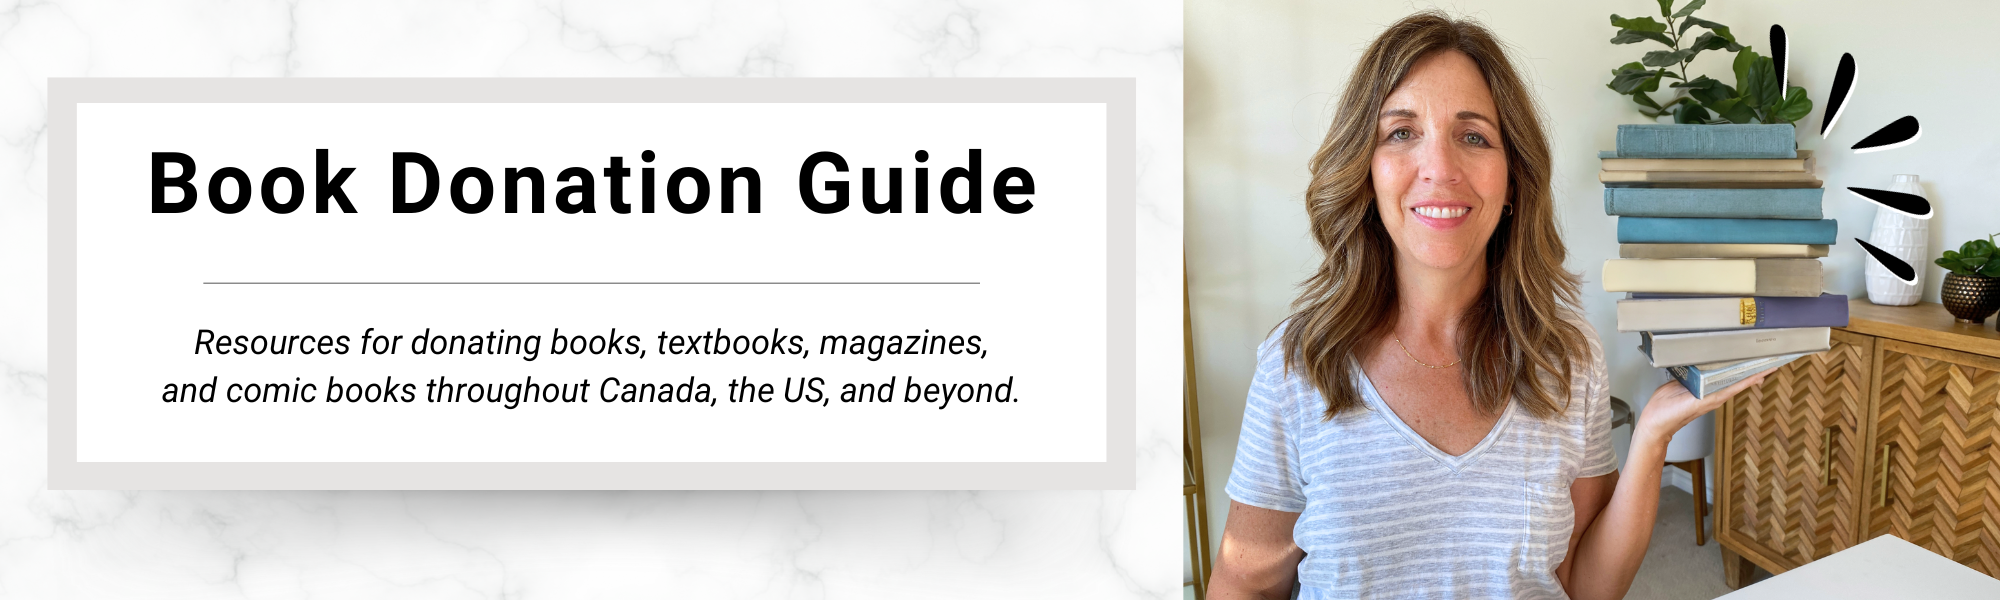
To address this exact question, we’ve compiled a list of resources for where to donate books, textbooks, magazines, and comic books. Our guide spans across borders, for those in Canada, the US, and beyond. Ensure your books find a welcoming home and continue to inspire minds near and far by donating to these great causes today!
Where to Donate Books When You’re Decluttering
When deciding where to donate books, textbooks, magazines, and comic books, remember it is not just a single generous act but one that continues giving. You are capable of sparking curiosity, education, and joy in the hearts of many more readers!
Whether you reside in Canada, the US, or anywhere worldwide, you now have the resources to make a significant impact in your community and beyond. Don’t let your books sit idle and collect dust – share the knowledge and stories tucked in those pages! Give them a new life with someone who would appreciate them as you have by donating them to a good cause.
Bookmark this article to use as a reference for your next decluttering session. It will save you time from researching where to donate books on your own!
Make sure your beloved books continue to inspire and educate others for years to come. Share your favourite books with those in need by donating to these great causes today!
Like this article?
You’ll love this one
Organizing Your Closet Twice a Year Can Help Your Favorite Charity!

Don’t know where to start decluttering?
Sign up for my free newsletter so I can send you the best organizing tips and strategies each week.
(and some freebies, too!)