Tag

decluttering tips

4 Simple Strategies to Organize A Digital Photo Library

By Blog, Digital Minimalism, Digital Organizing, Photos No Comments


Nothing compares to the simple joy of knowing how to organize a digital photo library.


Searching your photo library for vacation pictures from a decade earlier, you often can’t help but stare nostalgically at your collection of photos. Each snap holds a million words and memories!


As you’re searching, you come to realize it’s never been easy to enjoy these memories. They’ve been on the verge of being forgotten after having been buried away by new vacations, celebrations, and day-to-day photos for years.


You feel the urge to organize your digital photo library… but the minute you start one-by-one selecting photos to toss, you think, “I’ll deal with this later.”


It is overwhelming to organize a digital photo library and deal with mountains of photos.


Before you know it, months and years have gone by. You have thousands of photos sitting on your phone, untouched and unseen. When you finally decide to tackle the mess, you can’t remember where you left off, so you start all over again.


What a huge waste of time!


But I hear you, my friend; and I’ve been there. There were only four habits that pulled me out of this cycle. The best part is, they are simple to learn and even easier to implement.


Let’s get started, because “later” is now!


4 Simple Strategies to Organize a Digital Photo Library


Step 1: Weed Out the Duplicates


This is the easiest tip to start with, because your phone already does most of the work for you! My rule of thumb when I organize a digital photo library is,

Pick three of the best, get rid of the rest.


To delete your duplicates:


  1. Open the Photos app on your phone.
  2. Go to Albums and scroll down to the Utilities section.
  3. You’ll find a folder of duplicate photos. Click on it to review and decide what to keep and what to delete.


How easy is that? Bet you didn’t know your phone already groups them together for you to review!


The same rule applies to physical photos. Keeping only the “best of the best” saves you time and space. Plus if you plan to scan them, it saves you money too!


Step 2: Delete Blurry Photos and Screenshots, TWICE


Screenshots are usually just temporary photos for reminders, receipts, recipes, products to buy, or ideas to implement. Which means they can pile up quickly if left unattended. With this in mind, try only keeping the ones you absolutely need and will follow up on.


Here’s how to start:


  1. First, back up essential screenshots to your preferred Cloud storage system, like Google Drive.
  2. Open the Photos app on your phone.
  3. Go to Albums and scroll down to the Utilities section.
  4. You’ll find a folder of screenshots. Click on it to delete unnecessary screenshots and blurry photos from your phone.
  5. While still in the Utilities section, scroll to the album of recently deleted photos. Delete these permanently to free up even more storage space as you organize a digital photo library.


Step 3: Create Essential Albums


Most people start to organize a digital photo library by creating albums first, but I strongly suggest otherwise. Why spend your time organizing a bunch of blurry and unwanted photos? Instead, focus on decluttering first.


This is my approach:


  1. Sync the photos from your phone into a Cloud service, like Google Photos. (This frees up storage space on your phone and ensures your photos are safe even if your phone gets lost)
  2. While on your computer, create broad-category albums in your Cloud storage system. It isn’t necessary to place every photo into an album, so begin with the topics you refer to most frequently.

Make sure to choose a storage solution that works for you and make it a habit to back up your photos regularly. I love to sync my photos daily or at least weekly. This ensures they’re safe if something were to happen to my physical phone.


For organizing digital photos into albums, I recommend you start albums with the year to make them easy to search for. I organize my albums by broad themes, categories, topics, or activities. For example; family events, birthdays, holidays, recent vacations, or hobbies.


Step 4: Organize in Batches


When you’re relaxing and watching TV at night, you can organize a digital photo library in micro-sessions!


How to organize in batches:


  1. To start, organize your recent photos from the current week. Delete anything you no longer need or want.
  2. Back up the remaining photos to your cloud storage system. I prefer to use Google Photos for my photos as it’s easily accessible on all devices.
  3. Next, categorize your photos into the albums made from the previous step.
  4. Continue your organizing with the previous week’s batch of photos. Keep working backward in sections of a week until you reach the beginning of your camera roll. Before you know it, you’ll have a perfectly organized set of photos!


By breaking it down, organizing digital photos is no longer a hugely overwhelming process. And you can enjoy your freshly filled albums right away!


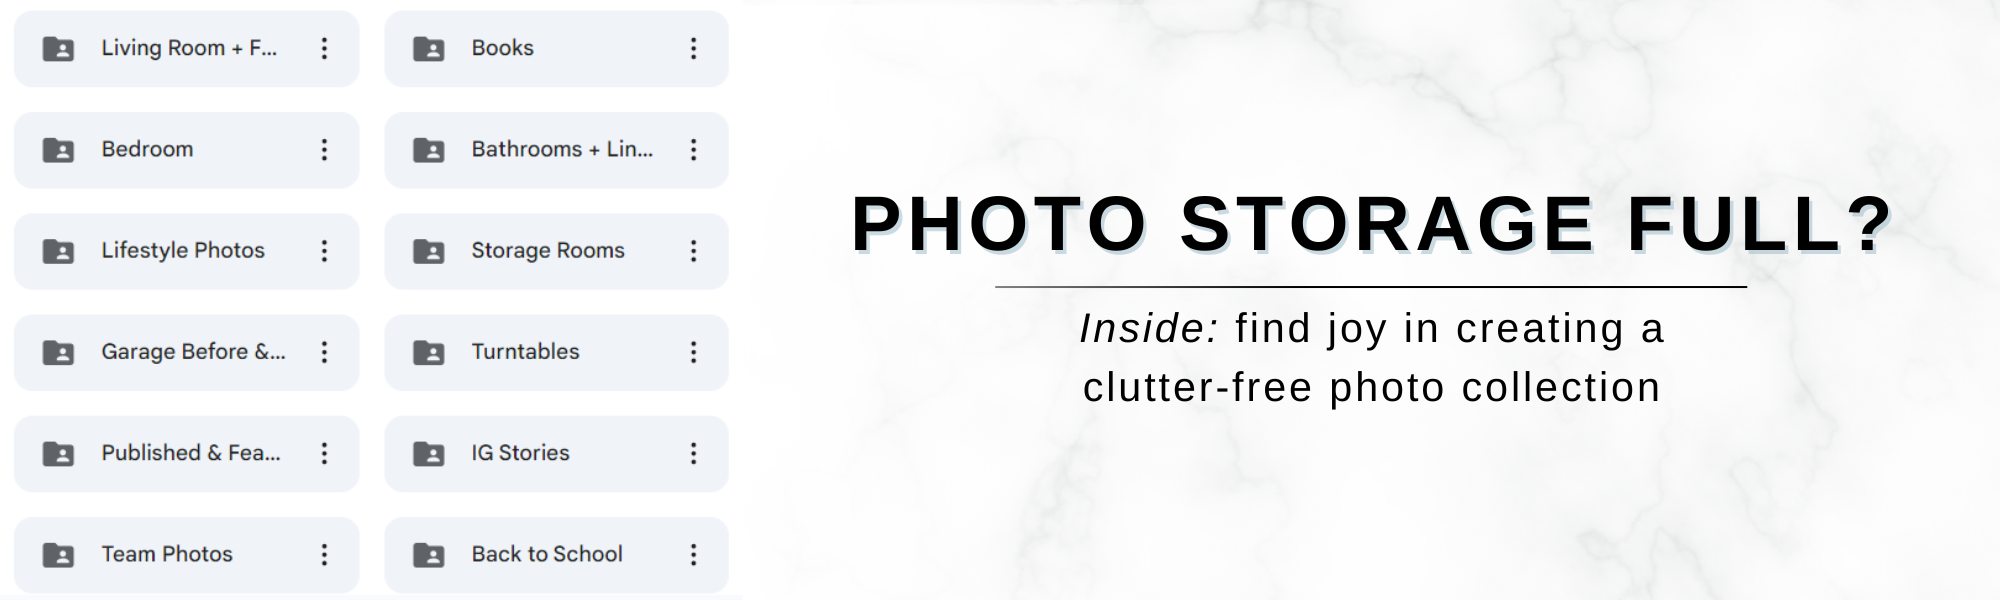
Now that you’re equipped with how to organize a digital photo library, it’s time to apply these steps. When you follow these tips, you’ll find joy in a streamlined, clutter-free photo collection.


Have some more digital photo organizing secrets? Comment below!


Like this article?

You’ll love this one 👇🏻
7 Important Questions to Ask When Decluttering Your Digital Photos


Want more support with digital organization?


Sign up for my free newsletter so I can send you the best organizing tips and strategies each week.

(and some freebies, too!)

Sign up here →

5 Common Photo Organizing Mistakes + What to Do Instead

By Blog, Photos, Quick Organizing Tips No Comments


Photo organizing requires an eye for detail and strategic planning approaches to avoid the five most common mistakes.


Are your digital photos causing you more headaches than happiness?


Don’t fret, I have been there! Having dealt with mass amounts of digital photos in my business over the years, I’ve got the inside scoop to help you get yours organized.


With over 20 years of photo organizing experience and practicing Digital Minimalism for two, I’ve truly seen it all. In this article, I’m sharing the top mistakes to avoid when organizing your digital photo library. Let’s get going!


5 Common Photo Organizing Mistakes + What to Do Instead


Mistake #1: Inconsistent File Naming


Isn’t it a hassle renaming every single photo? I’ve got good news – you don’t have to!


However, you’ll need a consistent file naming system that works for various categories. Imagine spending hours searching for that one key brand photo because you can’t remember how you named it. Not fun, right? Here’s a simple file-naming template to get started:


Example: Year_Keyword_Keyword

Example in use: 2024_Photoshoot_Headshots


Modify this simple template to strategically name files for easy access to your key brand photos, logos, headshots, and product images. Having a clear and consistent naming convention while photo organizing will save you frustration in the long run!


Mistake #2: Not Using Descriptive Keywords


Do you ever scroll endlessly through your photo library, searching for a specific image? It’s a common frustration, but it doesn’t have to be.


By neglecting to add descriptive keywords and tags to your photos, you’re making it harder to find what you need when you need it.


Adding “metadata” to your photos makes for efficient searching and organizing. Simply open a photo, click Details, and you will be able to add a description. Include keywords, tags, and any other relevant information related to the photo for easy retrieval at a later date.


With just a few extra minutes spent adding descriptive keywords, you’ll be able to locate specific groups or themes of photos with ease. Saving you valuable time and mental stress!


Mistake #3: Forgetting to Back Up


Picture this: you’ve spent hours capturing and editing the perfect photos for your business… only to lose them all due to a technical glitch or device failure. It’s a nightmare scenario, but one that can easily be avoided with regular photo backups.


It’s of high importance to regularly back up photos in business. Whether you choose Google Photos, iCloud, Dropbox, or another service, the key is to have a reliable cloud storage system in place for photo organizing.


Mistake #4: Camera Roll Clutter


Is your camera roll overflowing with blurry photos, duplicates, and random screenshots? You are definitely not alone! But here’s the thing – when your phone’s a disorganized mess, it makes it harder to find photos when you actually need them.


Even if you have a mass amount of digital photos, decluttering and photo organizing are possible. When you’re sitting in front of the TV, spend 20 minutes organizing your photos of the day. Delete blurry photos, duplicates, screenshots, and any other photos you no longer need.


In the next session, organize that day’s photos, then work backward. Do the previous week, month, year, and so on. Eventually your photos will be so streamlined you’ll be able to find anything in a pinch!

Mistake #5: Loose Photos


Creating photo albums is a great way to begin photo organizing and will make them easier to find. However, it’s essential to find the right balance between organization and overload.


While it’s tempting to create albums for every event, trip, or occasion, having too many albums can actually make it harder to find what you’re looking for.


Start by categorizing your photos into broad themes or topics, like vacations, family events, weddings, etc. By broadening the topics, you’ll create a neat and tidy photo library that’s easy to navigate.


Practice avoiding these common photo organizing mistakes and replacing them with organizational practices for the next two weeks. In no time your digital photo library will transform into a streamlined, easily navigable resource for your business and beyond!


What photo organizing habits do you practice daily? Comment below!


Taking the First Step


If you’re ready to simplify your business and embrace digital minimalism, I encourage you to join our course
Organize Your Business.


With our support and help with the execution process, this is your valuable opportunity to declutter and get organized in the digital world. Reclaim your time freedom and enjoy working in your business again. You can start the course today and experience the transformative power of digital minimalism by next week!


Like this article?

You’ll love this one 👇🏻
7 Important Questions to Ask When Decluttering Your Digital Photos


Want more support with digital organization?


Sign up for my free newsletter so I can send you the best organizing tips and strategies each week.

(and some freebies, too!)

Sign up here →

The 6 Fundamentals of Digital Minimalism

By Blog, Digital Minimalism, Digital Organizing No Comments


Practicing the 6 fundamentals of digital minimalism for the past two years has drastically altered my life.


In a world where being busy is glorified and constant connectivity is expected, the thought of deliberately slowing down has been gaining popularity.


As someone who has dedicated over two decades to decluttering both physical and digital spaces, I’ve come to realize the profound impact of digital minimalism’s fundamental habits.


The concept is simple yet transformative. By shedding digital distractions, we reclaim our time, focus, and mental clarity.


In this blog post, I’ll share the 6 fundamentals of digital minimalism that have been integral in my minimalist journey. Along with practical tips for implementing them in your own life!


The 6 Fundamentals of Digital Minimalism


  1. Declutter Your Systems

Decluttering serves as the foundational pillar of digital minimalism. Start by gathering all your devices; phones, tablets, laptops, desktops, etc. Identify what is currently working for you and optimize those systems. Then, determine which non-essential apps and tools you can eliminate. Simplifying your digital tools will significantly reduce mental clutter and increase your productivity.


  1. Set Clear Boundaries

The strongest of the 6 fundamentals of digital minimalism is boundaries for yourself. Establishing boundaries around your technology usage is crucial for maintaining a healthy relationship with digital devices. We have all fallen victim to “doom-scrolling” at one time or another. To combat this habit, decide at what times you’ll check your phone in the morning and exactly when you’ll turn it off or put it away at night. Disable notifications outside of these times and leave your phone in another room. This practice will help you minimize distractions and be fully present in social settings, or even in your own company.


  1. Leave Your Phone Alone

Taking regular breaks from technology can help alleviate stress and reduce cortisol levels. Start by challenging yourself to spend an entire day without your phone. Leaving your phone behind during outings will enhance your personal enjoyment of the activity and sincere engagements with others.

  1. Define Digital Minimalism for Yourself

The 6 fundamentals of digital minimalism are for everyone, though the way they are practiced may look different for each individual. It’s essential to define what digital minimalism means to YOU and have an idea of your goals going into it. Focus on efficiency, rather than adhering to strict minimalist standards. Since digital minimalism has many levels, remember not to get overwhelmed. Start with the small steps and work your way up!


  1. Choose Screen-Free Activities

Schedule leisure time into your calendar for activities that don’t require screen time. Things such as reading, walking, gardening, crafting, studying, etc. Creating a structured balance between tech and non-tech activities leads to greater fulfillment and reduced dependence on digital devices.


  1. Use the 80/20 Rule

Apply the Pareto Principle to your digital life by focusing on the 20% of apps and tools that yield 80% of your best results. Streamline your app usage and prioritize those that provide the most value and efficiency. Choosing simplicity over complexity will increase your personal productivity now, and reduce digital clutter in the process.


Incorporating the 6 fundamentals of digital minimalism into your daily routine paves the way for a more intentional and fulfilling relationship with technology.


Remember, digital minimalism is not about deprivation. But rather prioritizing what truly matters in life to be able to optimize your digital environment accordingly.


What habits have you been incorporating in your journey towards digital minimalism? Share your thoughts in the comments below!


Taking the First Step


If you’re ready to simplify your digital life and embrace digital minimalism, I encourage you to download our
FREE Productivity Apps Guide.


With practical tips and application recommendations, this is your valuable resource for decluttering in the digital world, reclaiming your time, and enjoying your conscious daily presence. You can start becoming a digital minimalist today and experience the transformative power of intentional technology use by tomorrow!


Like this article?

You’ll love this one 👇🏻
5 Easy Tips to Get Started with Digital Minimalism


Want more support with digital organization?


Sign up for my free newsletter so I can send you the best organizing tips and strategies each week.

(and some freebies, too!)

Sign up here →