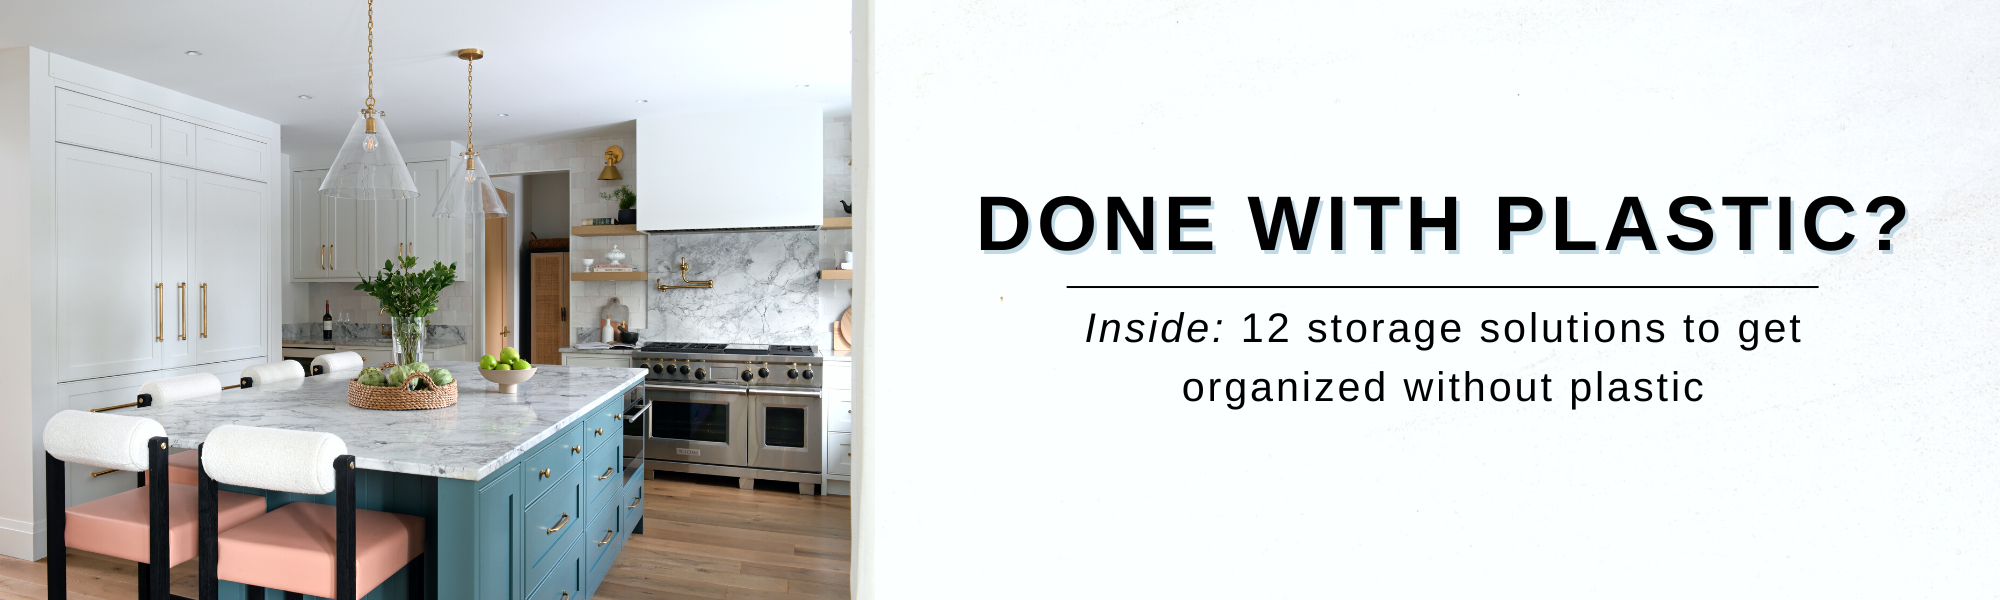
Tag

filing systems

Get Organized at Home Without Plastic!

By Blog, Home Office Organization, Home Organizing 4 Comments


Is it possible to get organized without plastic?


It’s not just possible, but actually easy to get organized at home without plastic!


Today it’s easier than ever to find sustainable, eco-friendly organizing products. With more and more people seeking alternative materials, you’re pretty much guaranteed to find something that fits your style!


Why is plastic bad for the environment?


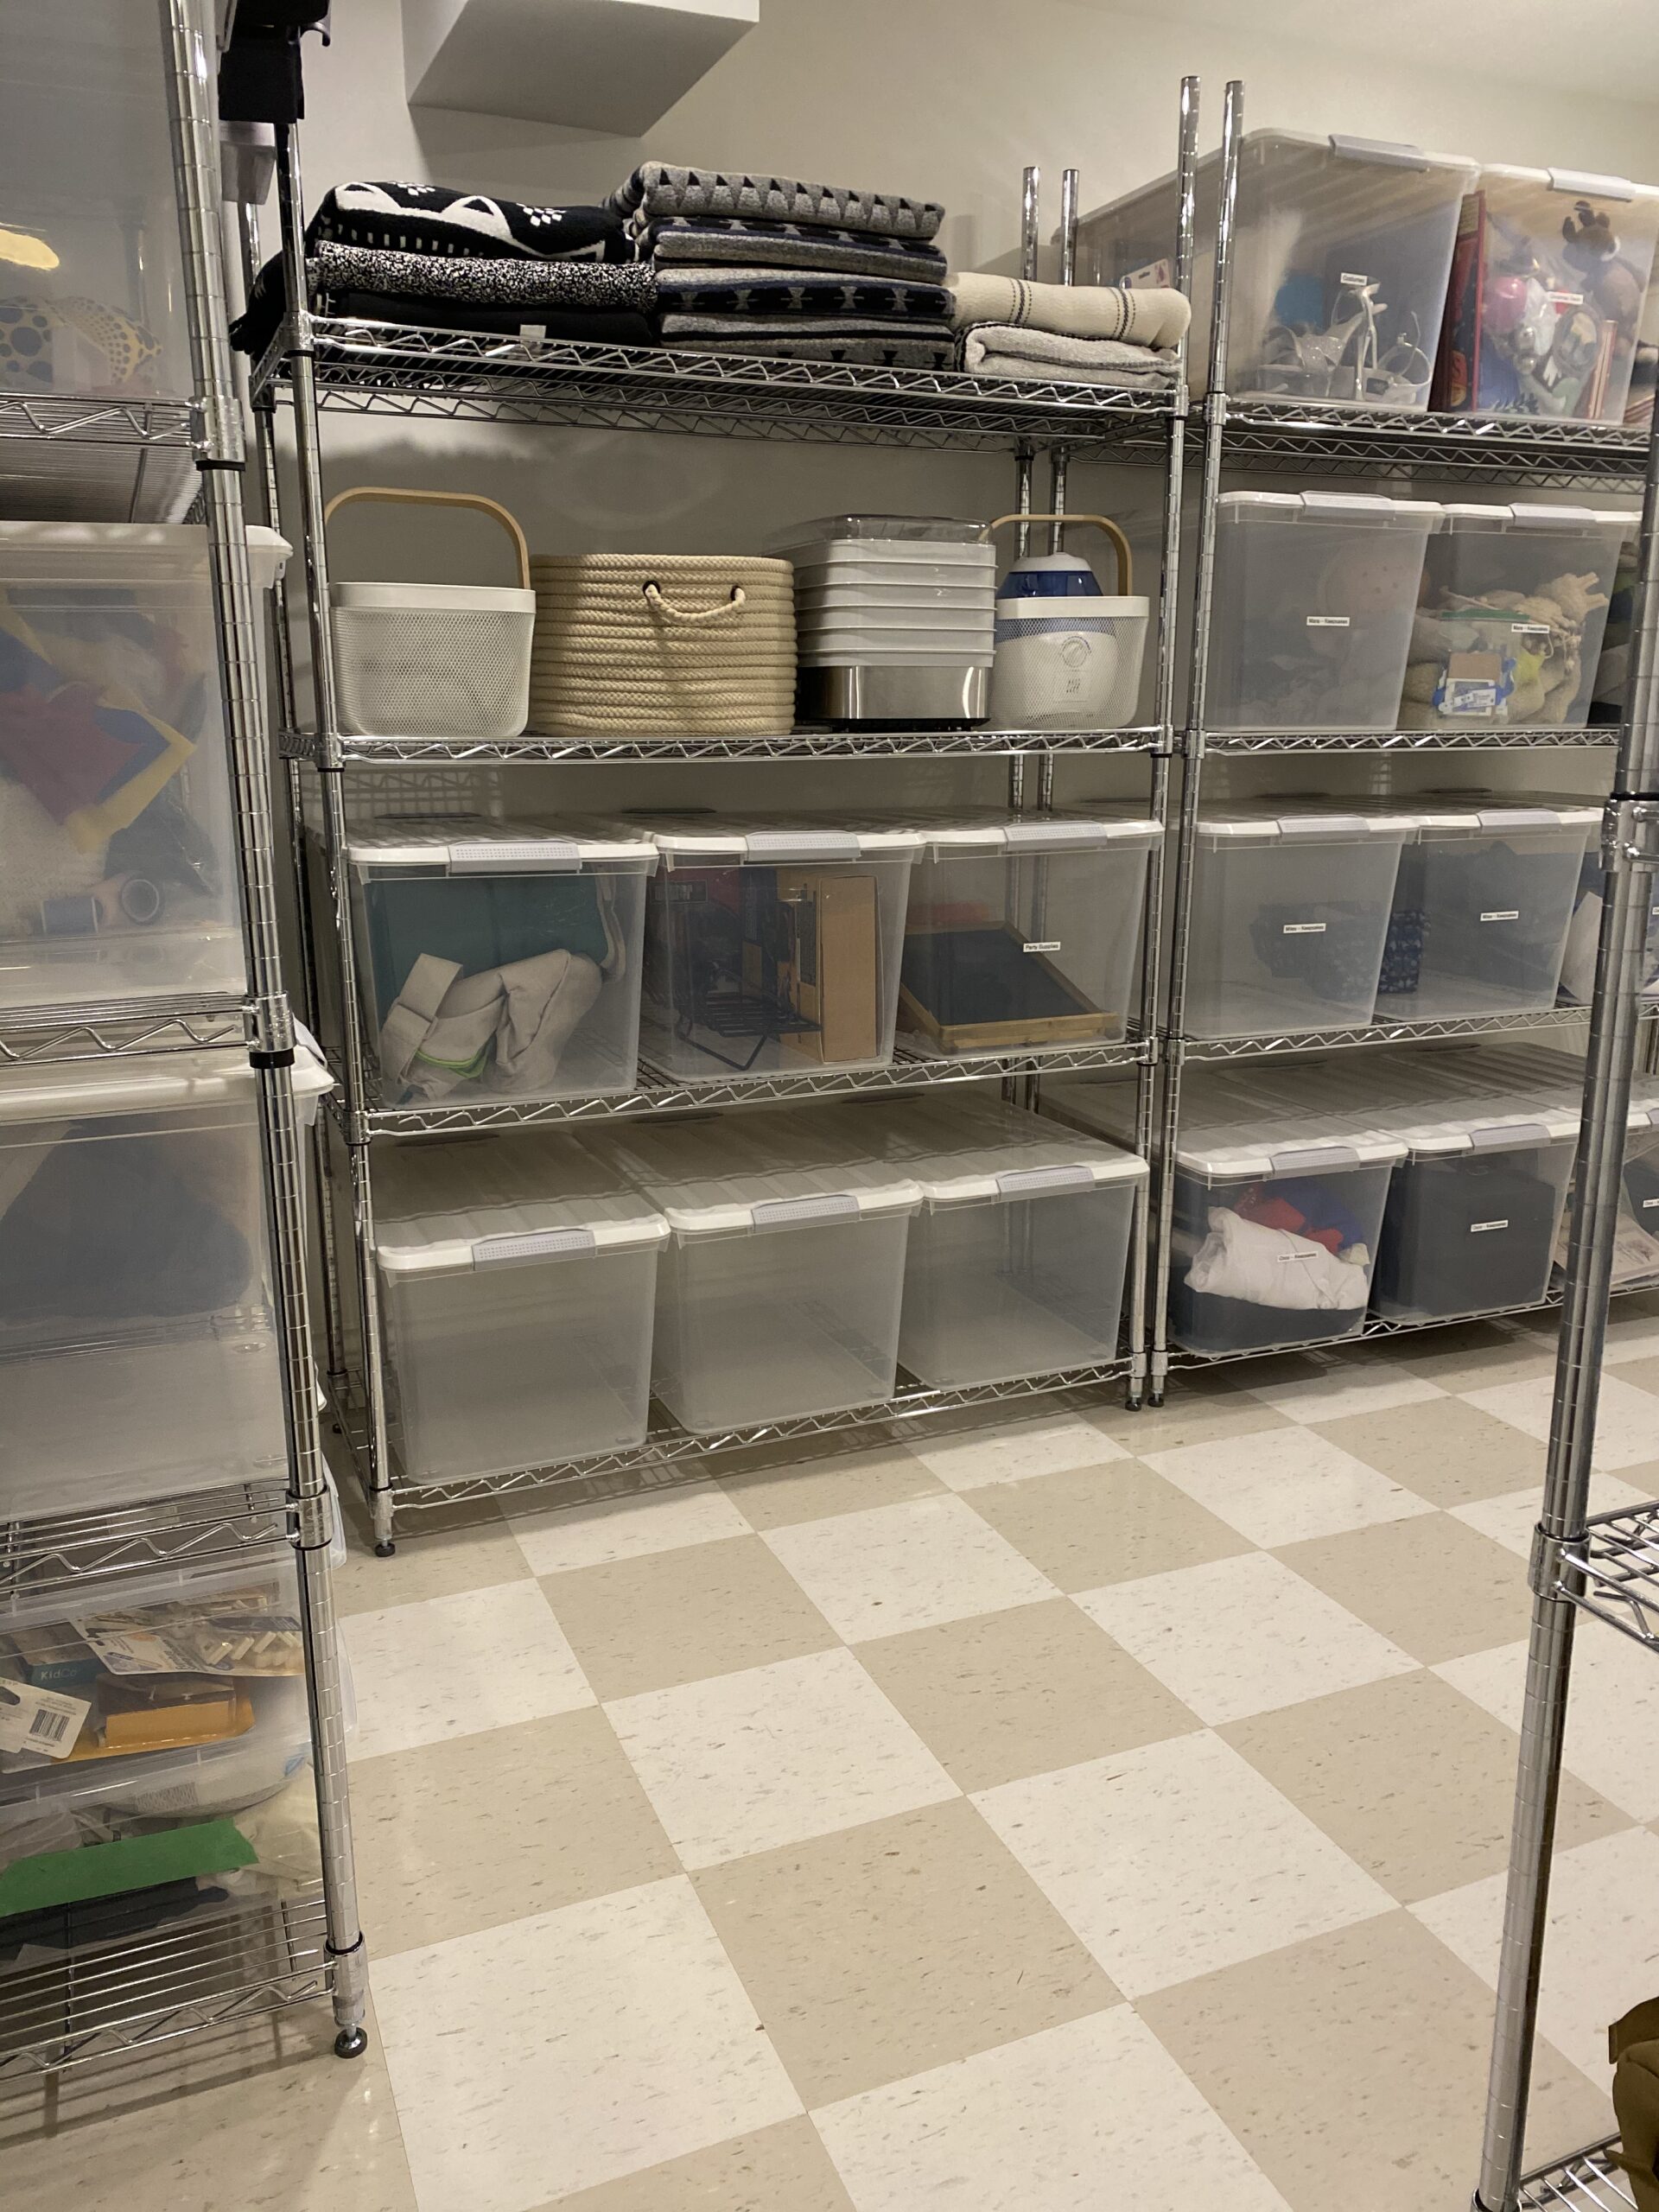
I’m going to be honest… being able to see through clear, plastic containers can make it easier to find items. We still install plastic products at a client’s request because they do function well and last for many years.


However, there are a lot of newer products on the market that weren’t available just a few years back! We are definitely hearing more and more from clients that they would prefer having a plastic-free home. So we are using a lot of natural wood products that are just as functional and last for many years, too. These are perfect for giving your home or office a touch of natural elements with the warm and welcoming feel many are looking for!


A couple of things to keep in mind are that solid wood can be heavy and lighter, softer woods tend to dent easier. So we like to use a mix of natural products to suit our client’s needs and preferences.


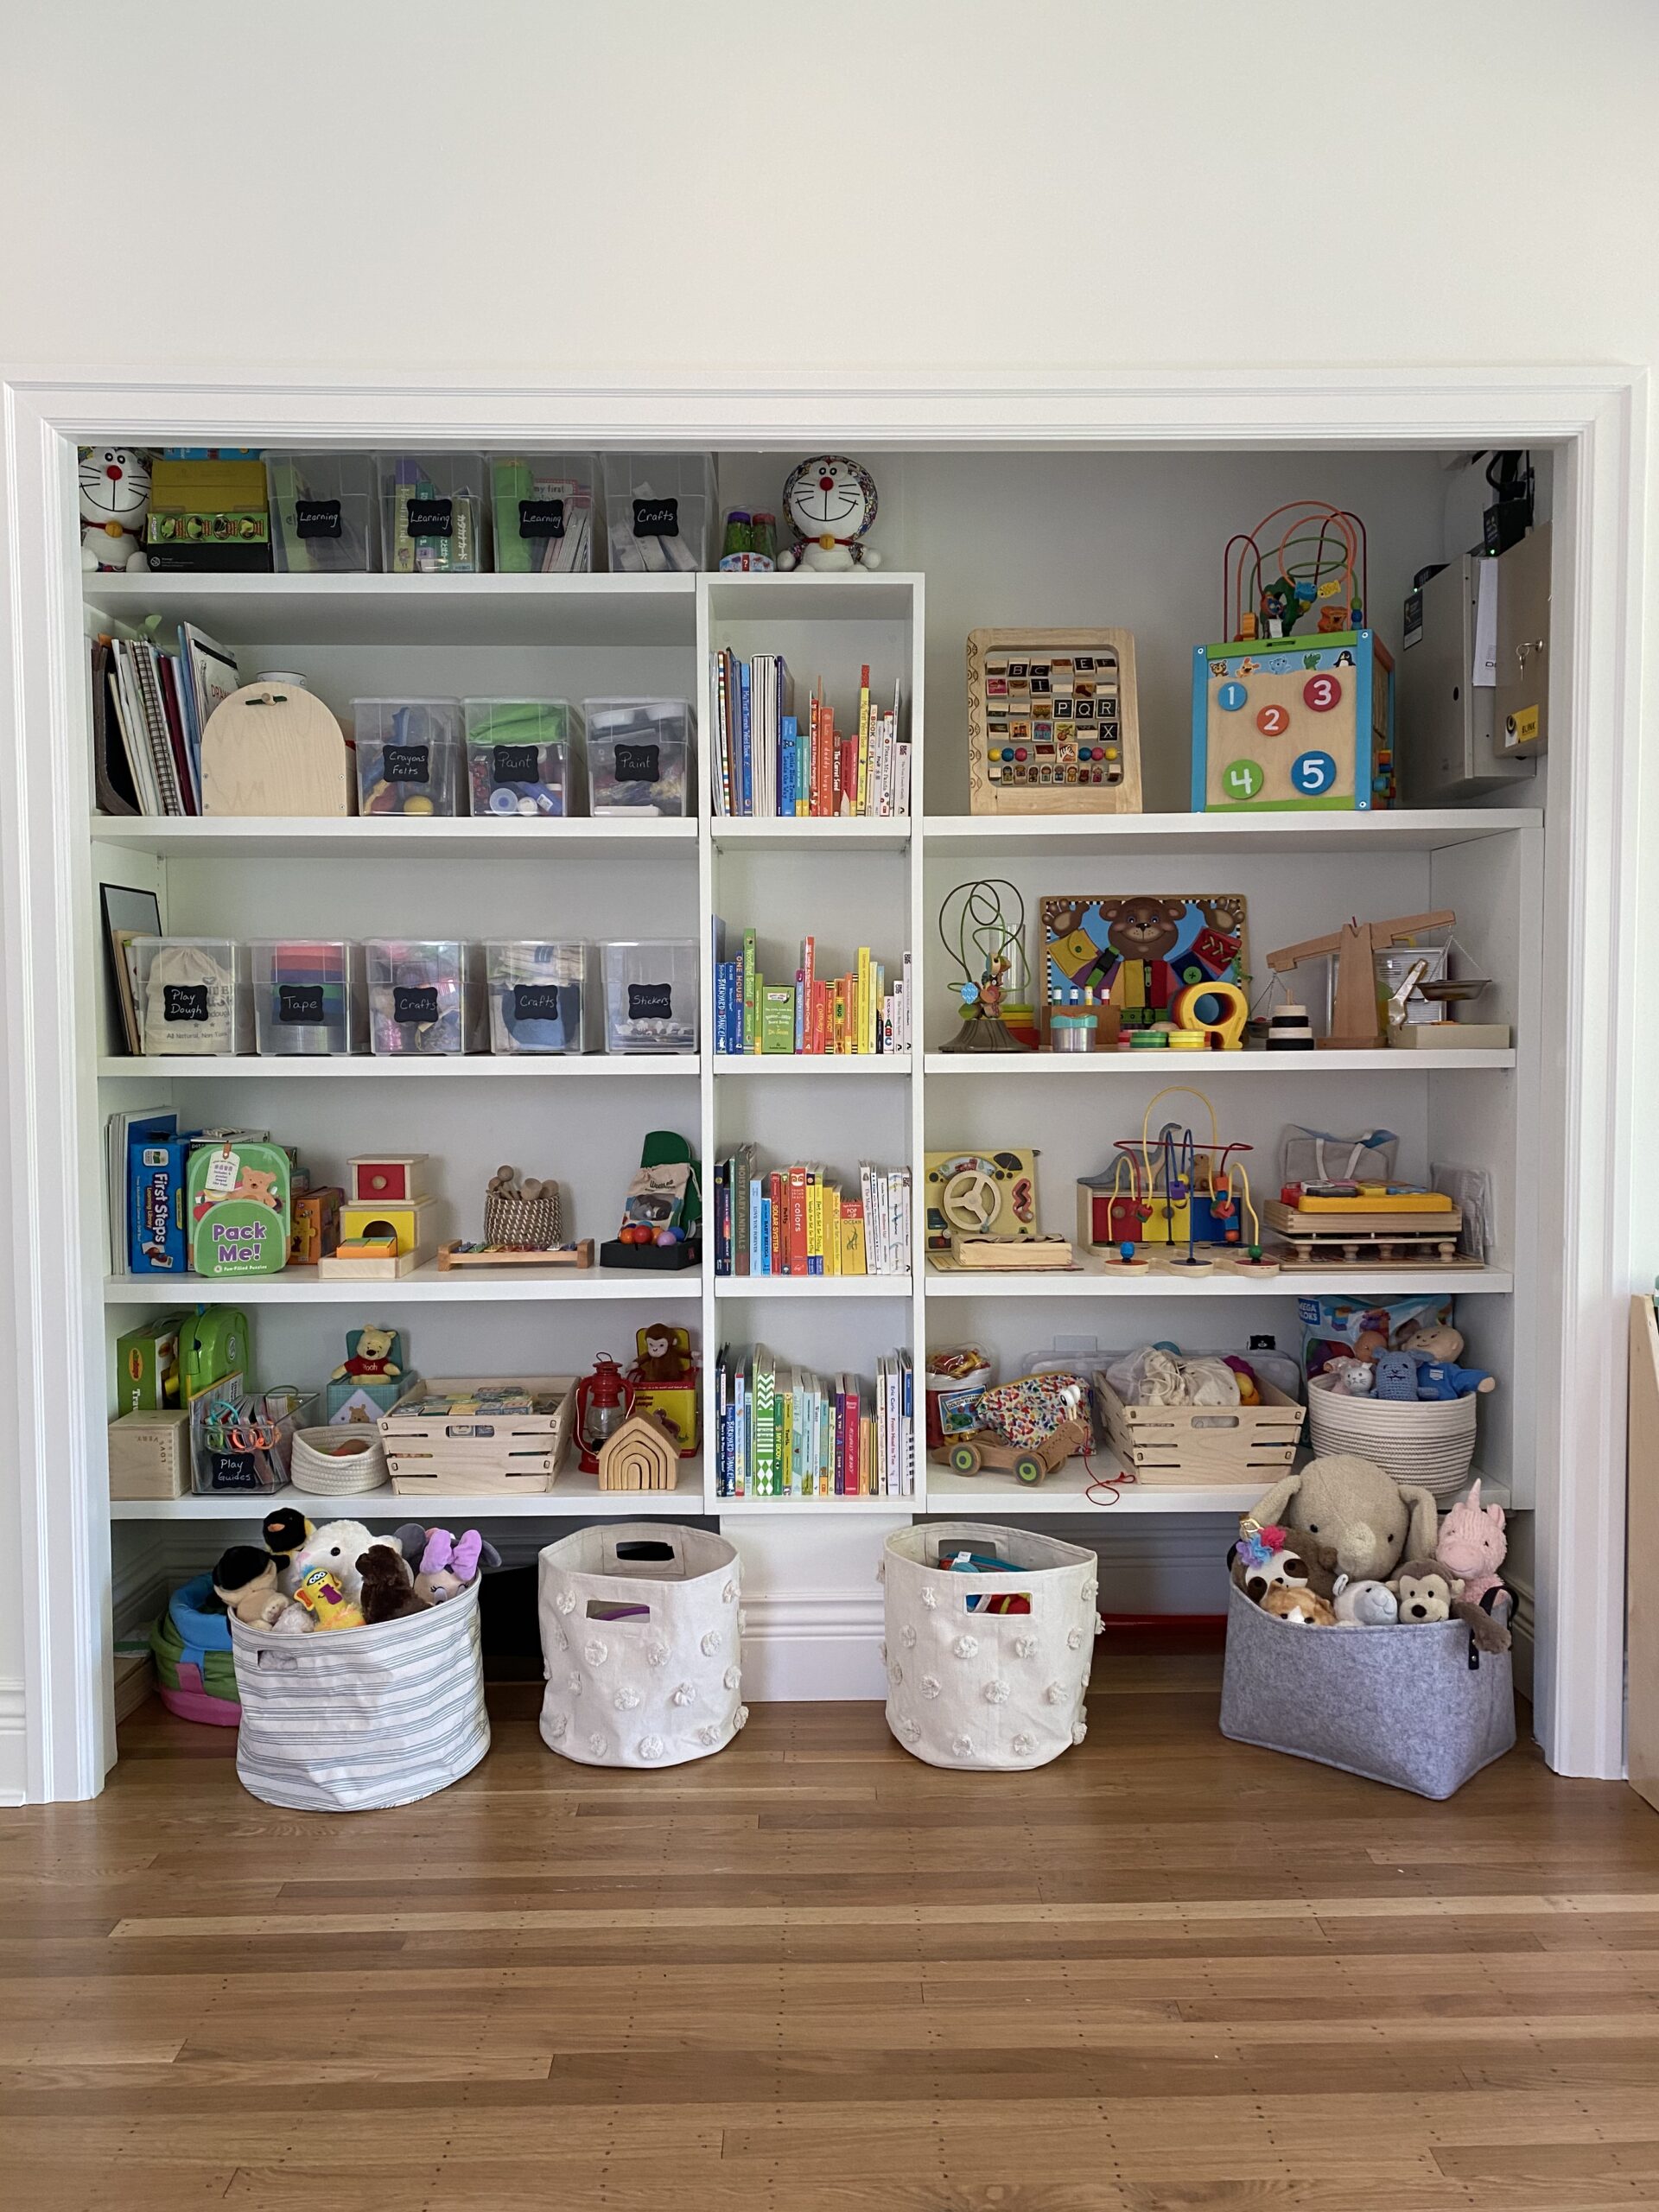
To combat the over-consumption of plastic, I’ve spent a lot of time sourcing eco-friendly products for on-site clients. I always do my best to find equally functional, stylish, and sustainable options!


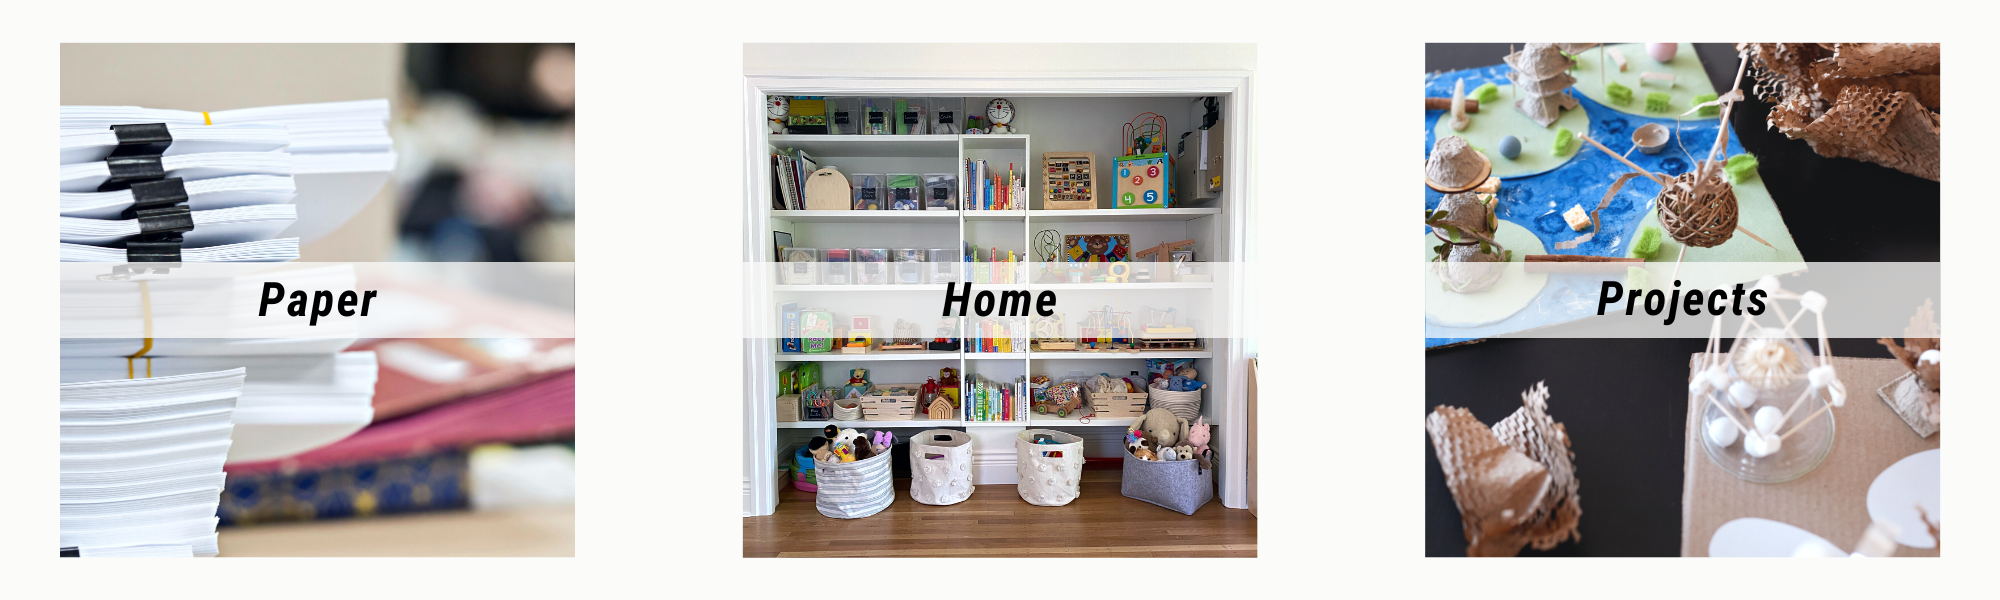
Below, I’m sharing some of my favorite storage solutions so you can get organized without plastic. Let’s get right into it!


✨ FREE DOWNLOAD ✨

3 Home Organizing Mistakes

Start achieving your organizing goals faster!

Download Now →


Get Organized at Home Without Plastic


Remember, the most sustainable option is to shop your home first!


Make sure you actually need more containers before grabbing any of the ones listed below. Organize with what you have for now, then measure your space and purchase anything you still need. Then you can get organized without plastic using all these pretty, sustainable products to fill in the gaps!


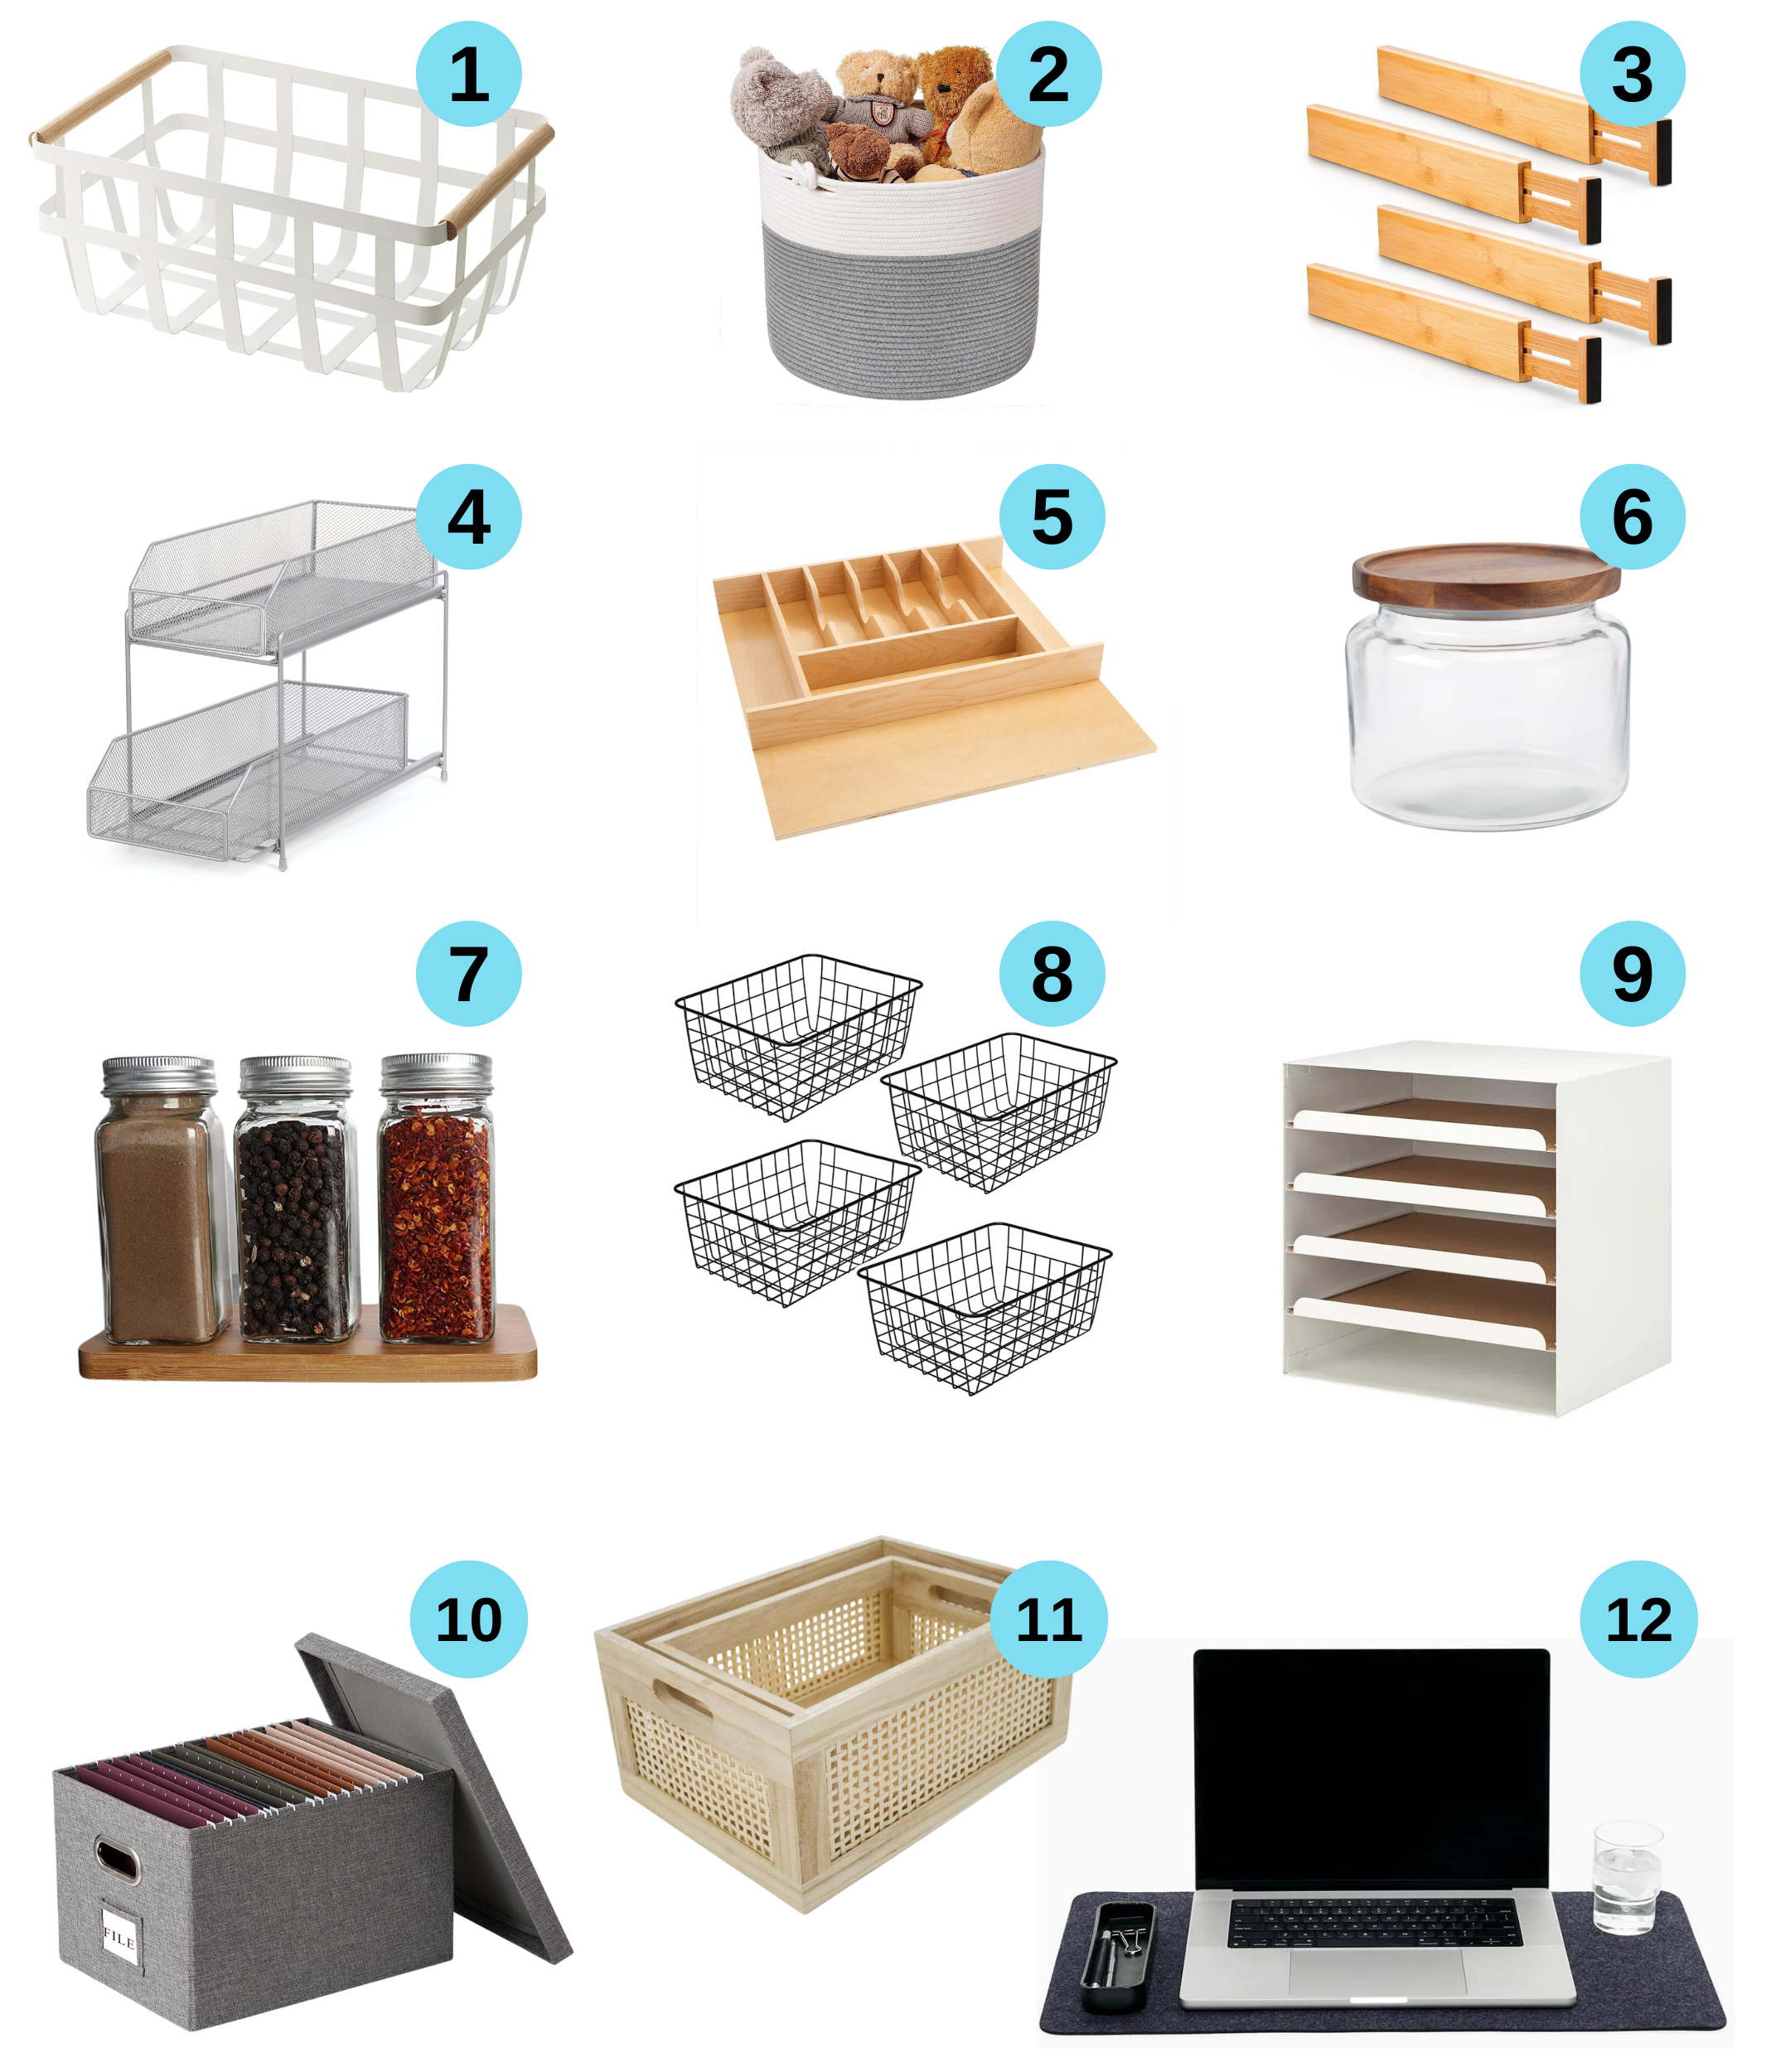
1. YAMAZAKI Home Storage Basket with Dual Handle

Use this simple yet stylish basket to organize almost anything! Yamazaki’s triple powder-coated steel is matte and water-repellant. The bamboo handles warmly complement any room and allow for easy carrying. Use it to store pantry snacks, bedside slippers, or even larger office supplies. Cleans easily with light soap and a damp cloth, making this basket a great option to get organized without plastic.


2. Cotton Rope Basket with Handle

This woven rope storage basket is made entirely of cotton. This ensures it is soft with no sharp edges – a great choice for kids and babies! This bin is perfect for all things baby; toys, diapers, clothes, wipes, bibs, soiled laundry, changing pads, burp cloths, and more. These baskets are made of good material, so you can throw them in the washing machine!


3. Bamboo Adjustable Drawer Dividers

This is my favorite kitchen product for getting organized without any plastic. You can use these bamboo dividers to create sections in the drawers of your kitchen, bathroom, dresser, and even office. Spring tension holds each drawer divider into place. Easily adjust or remove them to change up the space. Both ends have protective pads so they won’t scratch the insides of your drawers either.


4. 2-Tier Cabinet Organizer

These smooth-running drawers work well in any irregularly shaped under-the-sink space. No need to worry about scratching or marking any part of them as they are metal and items also won’t fall through the small mesh. Use these sliding baskets in any place you want to store bulkier things like in kitchens, offices, bathrooms, garages, etc.


5. Wood Cutlery Drawer Insert

Organize your kitchen drawers with my secret weapon for creating an IG-worthy kitchen… the wooden cutlery organizer! This clutter solution requires a simple drop-in installation and may be trimmed to fit various drawer sizes. It’s made with one of three classic hardwoods and has a UV-cured, clear finish. I recommend this over those extendable bamboo ones. They tend to dry out and crack with time. So to get organized without plastic, solid wood is a great option.


6. Anchor Hocking Montana Jars

The large mouth openings on these Acacia-lidded jars allow for easy scooping, making them an ideal place to store bulk ingredients! I love these jars’ tight fit around the lid for air-tight storage and less food waste. They are also dishwasher safe. The chic design makes it hard to keep these jars away in a pantry – I often use them for display on counters, too!


7. Betrome 48pc Square Glass Spice Jars

Uniform spice jars always upgrade the look of a kitchen. These lead-free, square glass jars are easy to grip. They also come with silver metal lids and customizable waterproof labels. The metal caps help your herbs stay fresher for longer!


8. Kitchen Wire Baskets

If you like to see the contents of your bins, these steel wire baskets are the right selection for you! They have a durable rust-resistant finish and built-in side handles. This makes it convenient to pull the basket down from a shelf, out of cabinets, or wherever you choose to store it. To clean them, simply just wipe them with a damp cloth.


9. IKEA KVISSLE Letter In-Tray

This steel letter tray uses the power of vertical storage to save space on your desk. The pull-out compartments give easy access to papers and have a non-slip cork lining to keep everything stationary as they’re being pulled out. I personally love the clean look of white metal and cork. This can fit just as well in the office as it can at home when you are trying to get organized without plastic.


10. Linen File Box

These versatile, stylish file boxes fit both letter and legal-size files. I use these file boxes frequently when working on-site with clients to organize their home offices. They’re a great alternative to plastic and chunky metal filing cabinets. I love the built-in handles that make it easy to carry and one other big bonus – it even collapses down for easier storage when not in use!


11. Desktop Storage Baskets, Set of 2

Next up we have these high-quality, delicately handmade wooden storage baskets. Made of eco-friendly, sturdy wooden chips, these gorgeous baskets are featherlight and easy to carry. These are more delicate than some of the other options above, so I recommend using them for gentler items like books, toys, or pantry items. They also work great for adding a touch of natural elements to your home’s decor!


12. Graf Lantz Modern Desk Pad Felt

Use this soft wool felt desk pad to get organized without plastic and protect the surface of your desk. Merino sheep are prized for their wool’s strength, flexibility, and moisture-wicking capability! These pads are very low maintenance. Hand wash or dry clean them, and flat iron if necessary. This product is built to last!


These are just a few great alternatives to get organized without plastic in your home! By opting for non-plastic organizing products, we can collectively make a huge impact on our planet.


Getting organized at home without plastic is incredibly important for the health of our planet. So, let’s make a conscious choice together to embrace stylish and sustainable options, and create a greener future for the next generation!


Which room in your home will you start swapping for sustainable products in? Comment below!


Like this article?

You’ll love this one👇🏼

Ultimate Guide: My Kitchen Organizing Process


Don’t know where to start decluttering?


Sign up for my free newsletter so I can send you the best organizing tips and strategies each week.

(and some freebies, too!)

Sign up here →

Disclaimer: I do earn a small commission from the sales through the links attached to these product recommendations! This helps keep Simply Productive ad-free for our readers 🙂

How to Organize a Year of Kids’ School Papers

By Blog, Home Organizing, Organizing Paper Files No Comments

Stuck trying to figure out how to organize a year of school papers?


You’re in the right place! By implementing these simple steps you will be able to avoid overwhelming paper chaos. Ensuring that only their most important memories are saved.


In this blog post, we’ll explore practical tips for organizing schoolwork after the year has ended.


When is the Best Time to Organize?


There isn’t a more exciting time of year than when the kids finish school for the summer. At least for them! But somehow, it’s the parents that get stuck with their mountain of schoolwork to sort through.


To help lessen the amount of work come summer, a good idea is to practice recycling unnecessary papers throughout the school year. If you can keep this up consistently you’ll have a lot less work at the end of the year!


That’s a tip for next year though, as we have a mountain of paperwork to deal with today.


Let’s take a look at how you can organize a year of school papers effectively.


Don’t know where to start decluttering?


Sign up for my free newsletter so I can send you my best organizing tips and strategies each week.

(and some freebies, too!)

Sign up here →


How to Organize a Year of Kids’ School Papers


1. Establish a Plan


To prevent overwhelm by paper clutter, the most important step is to have a clear plan of action before you begin. Decide where and how you will organize your child’s school papers. This might be your dining room table or comfortably on your couch and coffee table. Then, dedicate a space to store these papers from the year. I recommend using a file folder for each school year and keeping them all together in an archive box, one for each kid.


2. Lay it All Out


You can now start getting your hands dirty by dumping out the contents of your child’s backpack. Gather all the papers into a single pile and put anything else off to the side so you can focus on this task first. Sorting through a large group is much more efficient than trying to pick through each thing from the backpack individually. From here you can create smaller piles for different categories like trash, keep, and recycle.


*Remember to remove the staples from the papers before recycling them!


✨ FREE DOWNLOAD ✨

Summer First Aid Kit Checklist

Be confident in any home emergency!
Download Now →

3. Reuse Papers for Summer Work


To keep your kids engaged in learning throughout the summer, consider reusing their unfinished workbooks, sheets, and lessons. For workbooks that are only partially completed, remove the finished pages to recycle and save the rest for “summer work.” This way, your children can continue learning during the break without you having to purchase additional worksheets. Having grade-appropriate lessons ready makes it even more relevant!


4. Clean out Backpacks (and Lunch boxes!)


After you organize a year of school papers, don’t forget to give those backpacks and lunchboxes a thorough clean! Empty out the whole thing, dispose of leftover food, and wipe down the interiors. Most backpacks can be run through a washing machine, but double-check the tag for washing instructions. A fresh start for the upcoming school year begins with a clean slate – emphasis on clean!


5. Want to Go Paperless?


Preserving memories digitally can save you tons of space and reduce household clutter. Check out my favourite apps for achieving this:

Artkive

The #1 solution for preserving and celebrating kids’ art!

Google Photoscan

Create enhanced digital scans, with automatic edge detection, perspective correction, and smart rotation.

You can use them to take photos of your child’s most memorable artwork and schoolwork. I love using these with my clients as they’re also great for taking photos of 3D artwork. If you don’t have the space to display a clay sculpture, simply snap a photo and look fondly at it anytime you wish! Create a digital album where you can store these cherished memories and even share them for extended family to view. Digital storage also ensures that these precious pieces are protected from physical wear and tear, or accidental breakage.


6. Maintain Throughout the Year


To simplify the end-of-year organization process, make it a habit to maintain your system throughout the school year. Encourage your kids to bring home papers they may no longer need. Regularly sort and pare down these papers to keep only the most special pieces. By adopting this practice, you’ll find that organizing school papers becomes a breeze at the end of each academic year!


Where to Store Kids’ School Papers

Organizing school papers after the year ends can be a daunting task that requires some planning and a methodical approach.


But by implementing the tips mentioned above, you can avoid the stress and clutter that often comes with organizing a year of school papers!


Remember to establish your plan, sort through the papers quickly, embrace digital storage, and maintain your system throughout the year.


By practicing these strategies consistently, you can say goodbye to paper chaos and give a big welcome to a clutter-free end of the year!


How do you store your kids’ school papers? Comment below!


Like this article?

You’ll love this one👇🏼

75 Creative Ways to Use A Label Maker

Essentials for Your Summer First Aid Kit

By Blog, Expert Articles, Quick Organizing Tips No Comments

The last time I opened my summer first aid kit, I was seeking relief from mosquito bites.


Fumbling through the zippered sections as my bites ached for an itch, I found nothing but expired tubes of AfterBite and Polysporin, a pack of bandages, a cold pack, and teeny tiny scissors that might be better suited for a mouse with a sewing hobby.


Luckily I found some aloe vera gel in the bathroom that would do for the time being as I went to the store to replenish this rather empty summer first aid kit.


On my drive, I couldn’t help but think – in a real emergency, this outdated kit would be useless!


To help make sure you can avoid this same situation, I’ve compiled all the basics that Red Cross recommends we have on hand, plus some extra summer essentials.


FREE DOWNLOAD

Summer First Aid Kit Checklist

Get familiar with basic first aid care
and be confident in any home emergency!

Download here!

Continue below to learn about all the necessary things, including specific summer essentials, you’ll need for your own kit!


Checklist of Summer First Aid Kit Essentials


Medicines + Topicals


Two 81-milligram tablets of chewable acetylsalicylic acid (Aspirin) can be life-saving if taken within the first hour of a heart attack. However, make sure to call 9-1-1 first and follow their instruction – it’s not safe for everyone.


This is an absolute must if someone in the household has allergies or you have any kids over for playdates.


Include a liquid kind for small children and babies.


Bandages + Dressings


In a variety of sizes.


Sterile Supplies


To be used for cleaning out wounds or treating dehydration.


Utensils


Store some extra batteries in a sealed bag.


Store some extra batteries in a sealed bag.


Emergency Contacts + Instructions


  • Emergency phone numbers for 9-1-1, local poison control centre, and personal doctors
  • First aid manual
  • Emergency home and office phone numbers for family members, friends, and neighbours who can be contacted for help


Download your copy here!


The easiest way to create your own summer first aid kit is to start with a basic, pre-made kit and build off of it.


Make sure to get all of the supplies first, before buying a container. You will need to measure the bulk of things and make sure they can all fit into the container.


If you’d like it to be more organized, opt for a bag with zippered compartments or a bin with sections. When in an emergency, this will enable you to find what you need as quickly as possible. You can also use a container that has a top lift-out section. This makes for great storage of smaller items in the top part and is equally as useful for storing larger items in the bigger section underneath.


It’s a smart idea to quickly check through your first aid kit each month for any expired or damaged products to keep everything in good working order.


Would you feel uneasy about using the items in your summer first aid kit during a real emergency? Sign up for some training classes with a local service that offers first-aid training! There’s no better way to prepare for emergencies than by taking a course from a professional trained in the field.


There are many organizations around the world that offer this training that can be completed over a weekend. Some of these are Red Cross, National Safety Council, and St. John Ambulance.


Once you are familiar with basic first aid care, you will be confident in almost any home emergency!


Did you have an AH-HA! moment while reading the summer first aid kit checklist? Comment your epiphanies below!


Like this article?

You’ll love this one👇🏼

8 Ways to Get Organized In One Hour Or Less