Desk Organization Tips to Clear Your Office Clutter
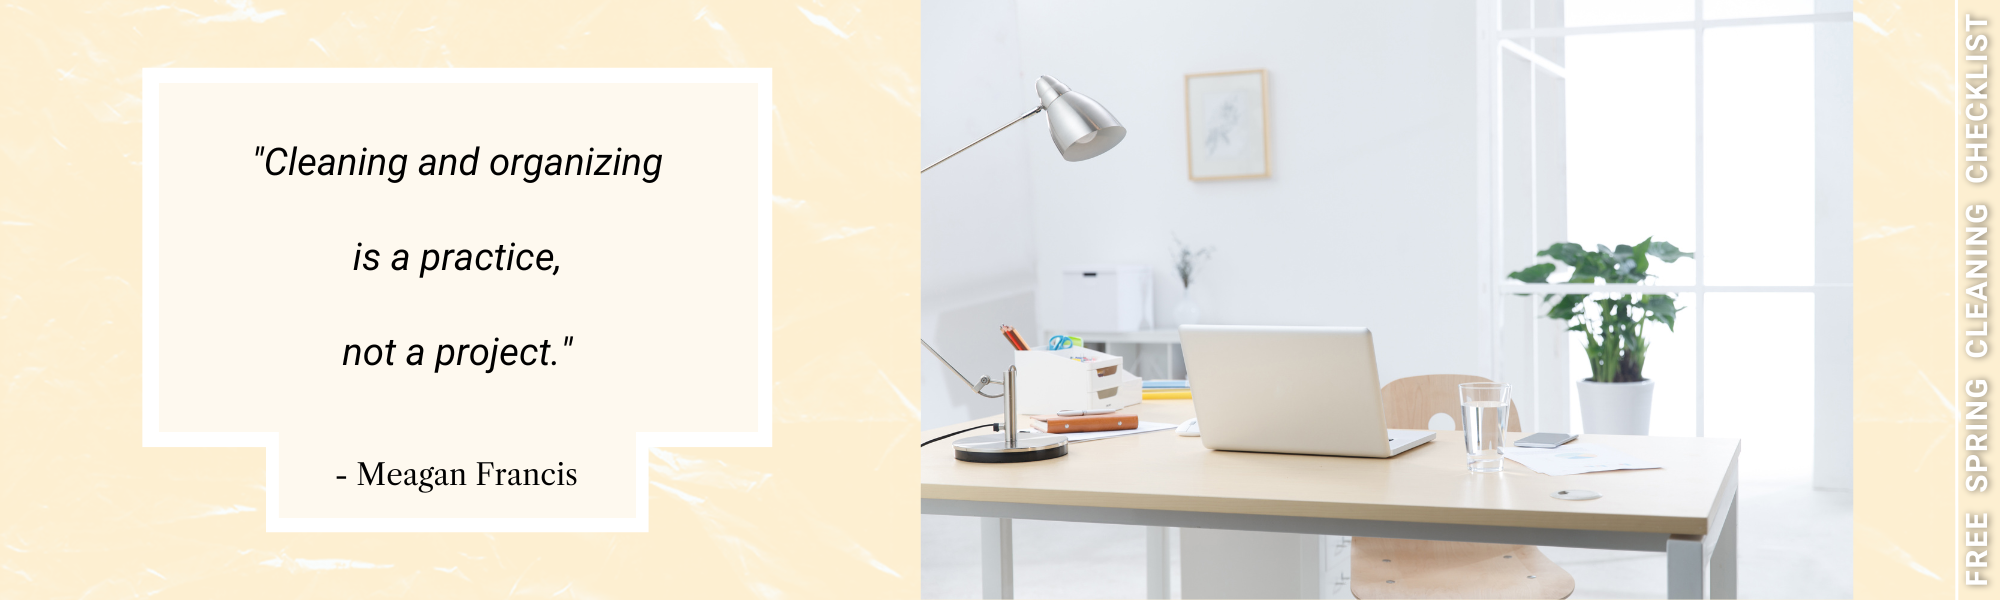
It’s the time of year again when we begin moving outdoors, taking in the crisp fresh air, and feeling a real sense of renewal!
And having your home and workspace organized helps immensely to welcome that wonderful freshness back into your life.
Check in with your Goals
Now is also the perfect time to assess where you’re standing with the commitments and goals you made to yourself in January.
Did you set out to be more active this year?
Be on time for meetings and stay ahead of deadlines?
Or maybe you set out to be better organized by finding great desk organization solutions?
Take a close look at your workspace and honestly answer these 3 questions:
- Where are the piles accumulating?
- What items don’t have a home?
- Is your Inbox on your computer overflowing with 100’s or even 1000’s of emails?
- Am I still in desperate need of office organization tips?
Your answers to these key questions will give you the clues for where you should start with these desk organization tips for your spring cleaning.
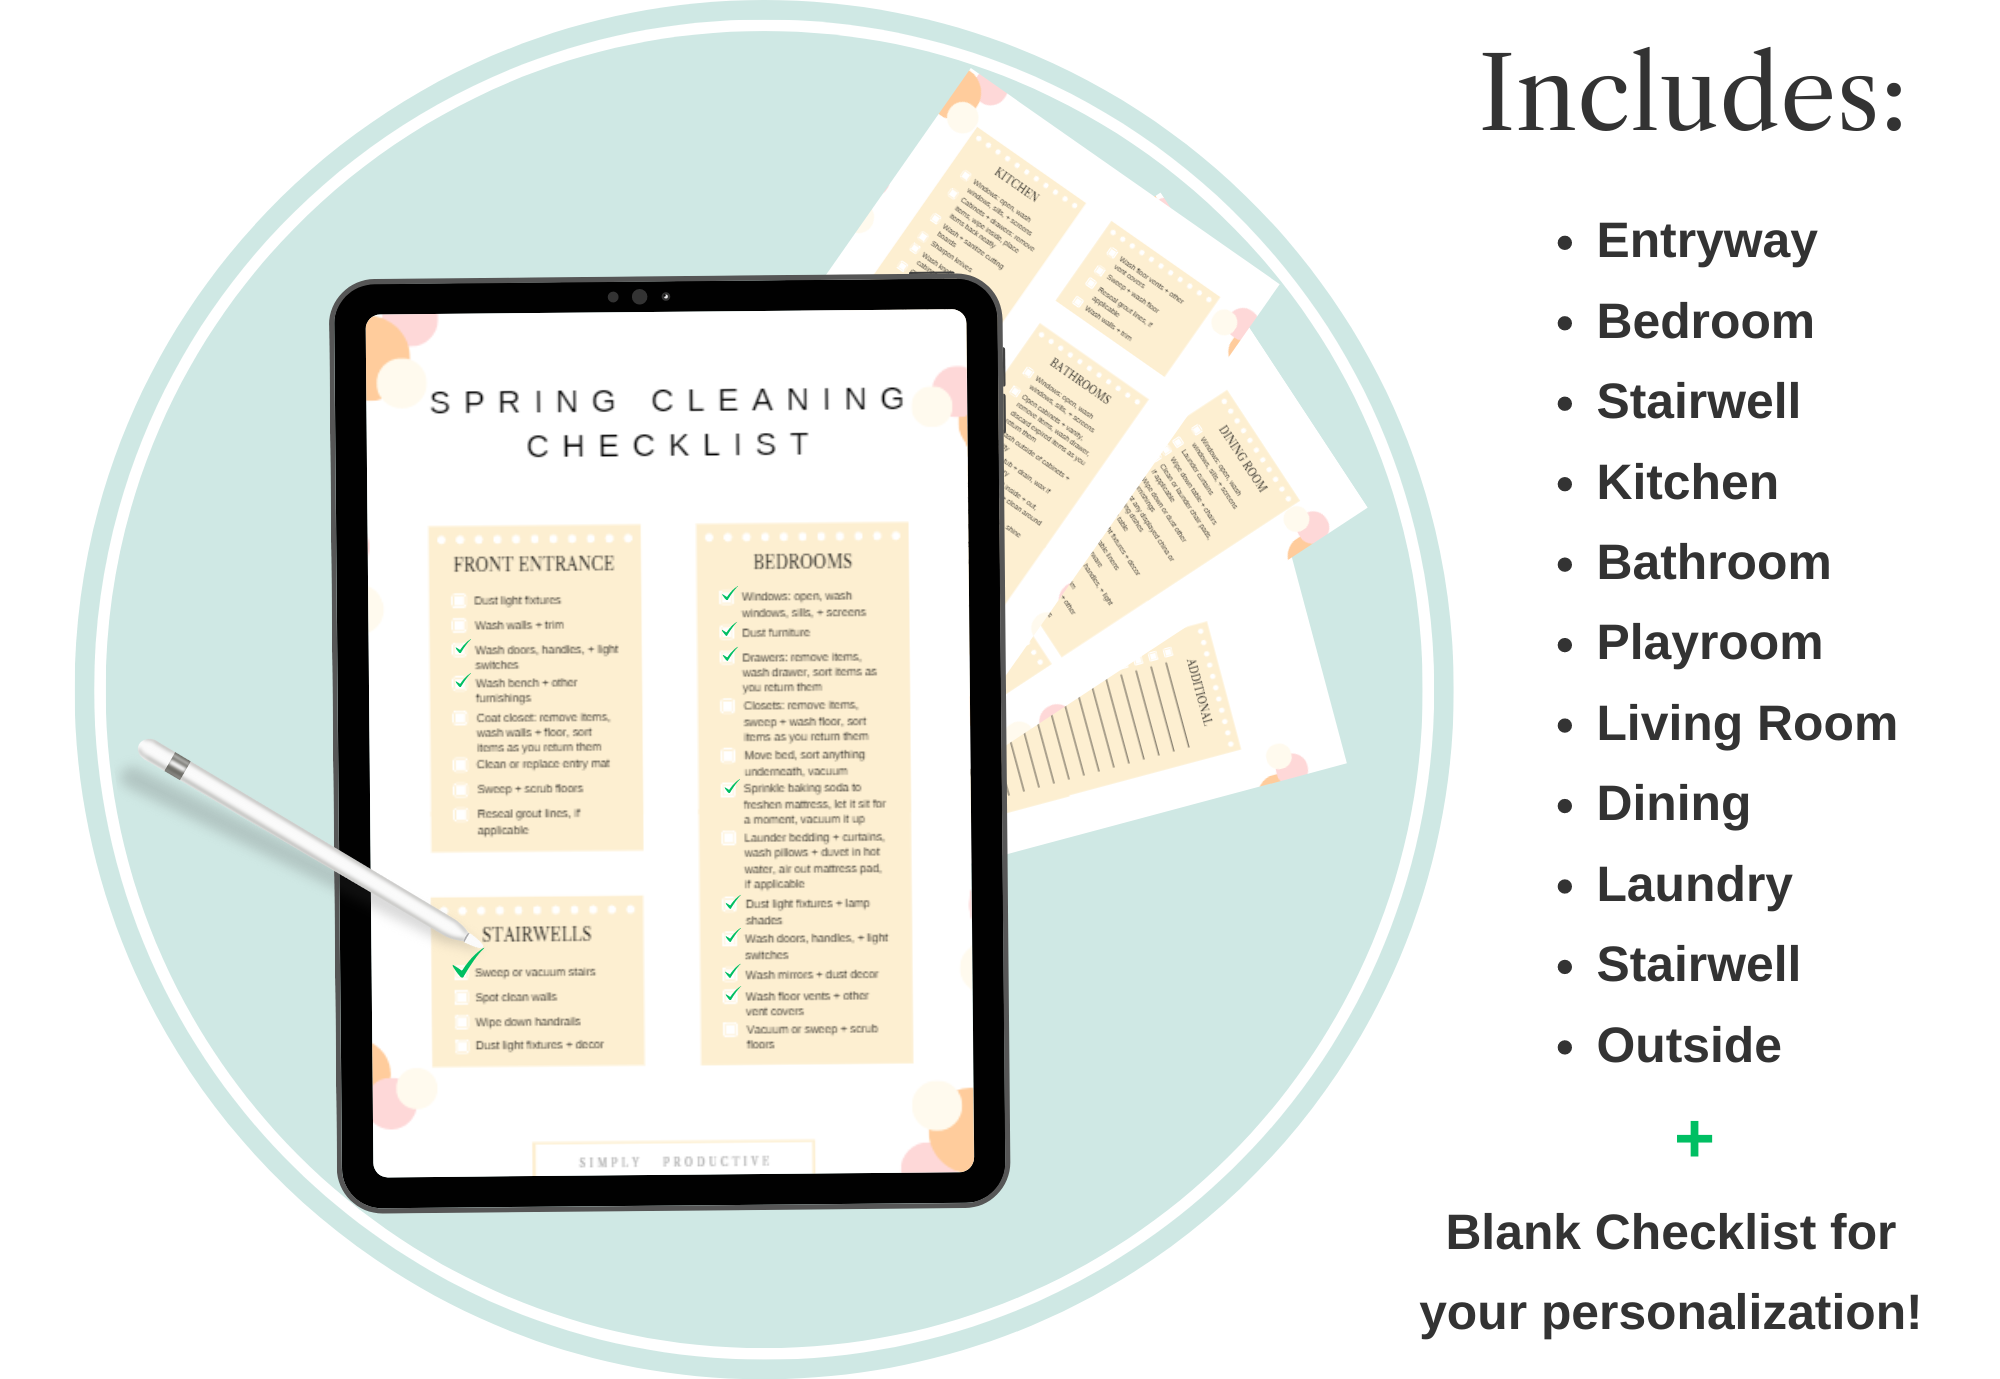
Why Wait to Spring Clean?
Welcome in the fresh air and get a head start this year
with our free Ultimate Spring Cleaning Checklist!
With these tips below, I recommend tackling one or two per day as to not overwhelm yourself right off the bat. It may start to feel really easy and freeing but remember to ration your energy so you can keep motivated and get your organizing done all week!
Most people only use 20 percent of what they have, 80 percent of the time. So with that in mind, let’s get moving and clear up your workspace!
Desk Organization Tips in 5 Easy Steps
Tip 1: Start with the Visible Piles First!
Period.
We can’t get to what we can’t even reach yet!
With our goal being to make a dramatic, visible result, we need to start with the visible things first.

Tip 2: Always Work in One Area at a Time
The goal here is to clear Command Central and create dramatic, visible results immediately. Starting with the top of your desk first.
What most desk organization tips won’t say is that people usually start with hidden piles in boxes or drawers, then after 2 hours they find themselves having not accomplished anything.
So to avoid this, grab 2 boxes and put every single piece of paper on your desk into box #1. Use box #2 for other desk things like pens, office supplies, books, and whatever else you have on your desk.
Now pick up the top piece of paper from box #1 and use the F.A.S.T. Principle™ – File it, Act on it, Schedule it, Toss it.
Handle each piece of paper in less than 60 seconds. Get rid of any decor items that you no longer love or that clutter up your desk.
Action Tip: Play your favourite music and set a timer for 1-2 hours.
Try to imagine when you walk into your office the next day. How will it feel to have a clear desk?
Likely like you’ve lifted 100 pounds off your shoulders!
Now let’s continue this desk organization process by tackling the piles on the floor using the F.A.S.T. Principle™.
Remember our time constraint for pieces of paper. There’s no time for lengthy evaluating here. The object of the game is to get this done as fast as possible.
Getting organized is a clarifying, cleansing way of connecting to what’s really important to you. You should enjoy the process and reward yourself along the way for all of your hard work!
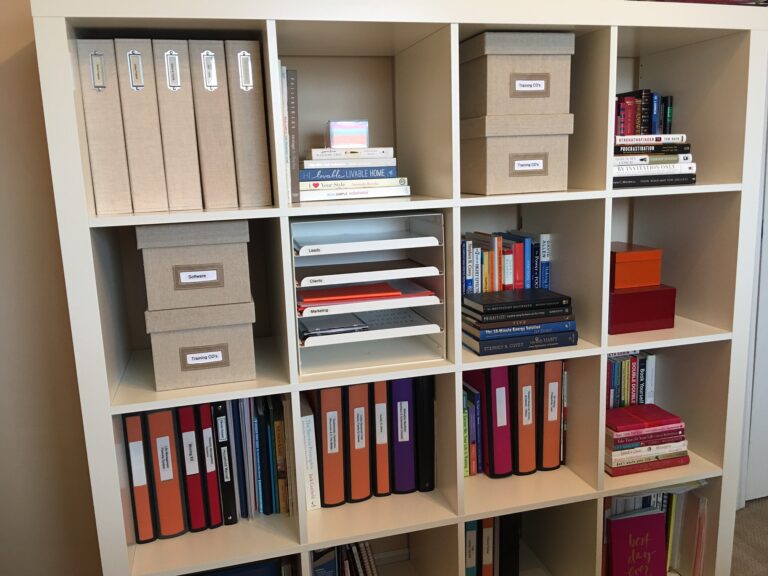
Tip 3: Create Zones in Your Office
Action Tip: Beware of the hidden costs of clutter. It costs your time, money, and space to take care of the things you don’t use. Now play your favourite music, set a timer, and get down to work for a couple hours!
Think of your work area as having different activity zones. Consider how you move things across your desk, what items you use most frequently, and what relationships certain materials have with different desk activities.
Command Central zones could be:
- An In Tray for incoming mail
- An Out Tray for outgoing mail
- To-File Tray for papers to be filed
- Project file zone
- Reference file zone
- Resources zone
Action Tip: While advancing through these desk organization tips, group like activities or functions together, then label them and their areas for quick, easy access.
Tip 4: Conquer the Email Traffic Jam
Mismanaged incoming emails can become a significant drain on productivity. The more emails pile up, the less useful it is to the user and company.
On the other hand, an empty Inbox is a delight to look at!
It reminds us we are fully caught up.
Did you know that the real purpose of an Inbox is to serve as a temporary resting location for information and requested actions BEFORE they are read by you?
Our Inboxes are not a catch-all for everything we’ve ever received, and they’re also certainly not a replacement for our information filing systems.
Apply the F.A.S.T. Principle™ here with each email.
Tip 5: Organizing is a Process, NOT a Destination
Action Tip: Only keep what you love and currently use on a regular basis!
Congratulate yourself for taking action on these desk organization tips this week and for clearing off your desk!
You’ve made some serious changes and that is definitely something to be celebrated.
Do keep in mind though, that organizing is a continual process of re-evaluating. You still need to evaluate what your goals are, what activities you currently enjoy, and what you don’t enjoy anymore, then edit accordingly.
Continually ask yourself these questions:
- Does it work?
- Do I like it?
- Does it work for others?
Action Tip: Be willing to adjust your systems as your professional and personal lives evolve. Don’t worry about mistakes along the way, it’s just important to keep learning!
What desk organization tips were your favorite? Comment below!
